
The Papa Bear Turntable
Shortly after launching HIFI / MPLS, two sisters living in California reached out to me with a request - they wanted to design and build their dad a turntable for his 70th birthday, which he was celebrating in early July. After getting a chance to speak with the two about their father, I discovered he had a love for the zest of life - he lived in Sun Valley Idaho, was a huge fan of the outdoors and had a passion for being physically active in skiing, scuba diving, hiking and other outdoor activities. He also had a love for exotic woods, which they requested I incorporate as well.
Throughout the conversation and my subsequent sketching thereafter, I kept coming back to the power of both Sun Valley and his love for outdoor activities. I felt these two things compelled a turntable form that was dynamic in nature - one that would break out of the boxy form of a typical plinth to become something that was imbued with an aesthetic of motion.

By Tyler Bell - Sun Valley View, CC BY 2.0, https://commons.wikimedia.org/w/index.php?curid=42406267
Now it is no secret that I love dynamic forms. One of my very first experiences in architecture (my primary profession) was at a Zaha Hadid exhibit at the Guggenheim in New York City. I remember being completely enthralled by her buildings and objects that appeared to be exuberant forms frozen in time, and was especially taken by her early paintings, which she used as studies for her built work.

"Vision for Madrid," Zaha Hadid, 1992. Courtesy of Zaha Hadid Architects.
I've explored this notion of "frozen motion" in a lot of my other work since - both furniture and architecture - and like most bits of design, it's been a slow process of evolution and exploration. During the design process I kept thinking, how can one, through a series of transformations, mutate euclidean or otherwise regular forms to become something more dynamic?
That idea is where this process began. I always begin my projects through sketching in a notebook, and from there, the design usually vacillates between digital modelling and sketching. Here's the first sketch that I actually discovered what I thought might be an interesting idea:

The initial sketch
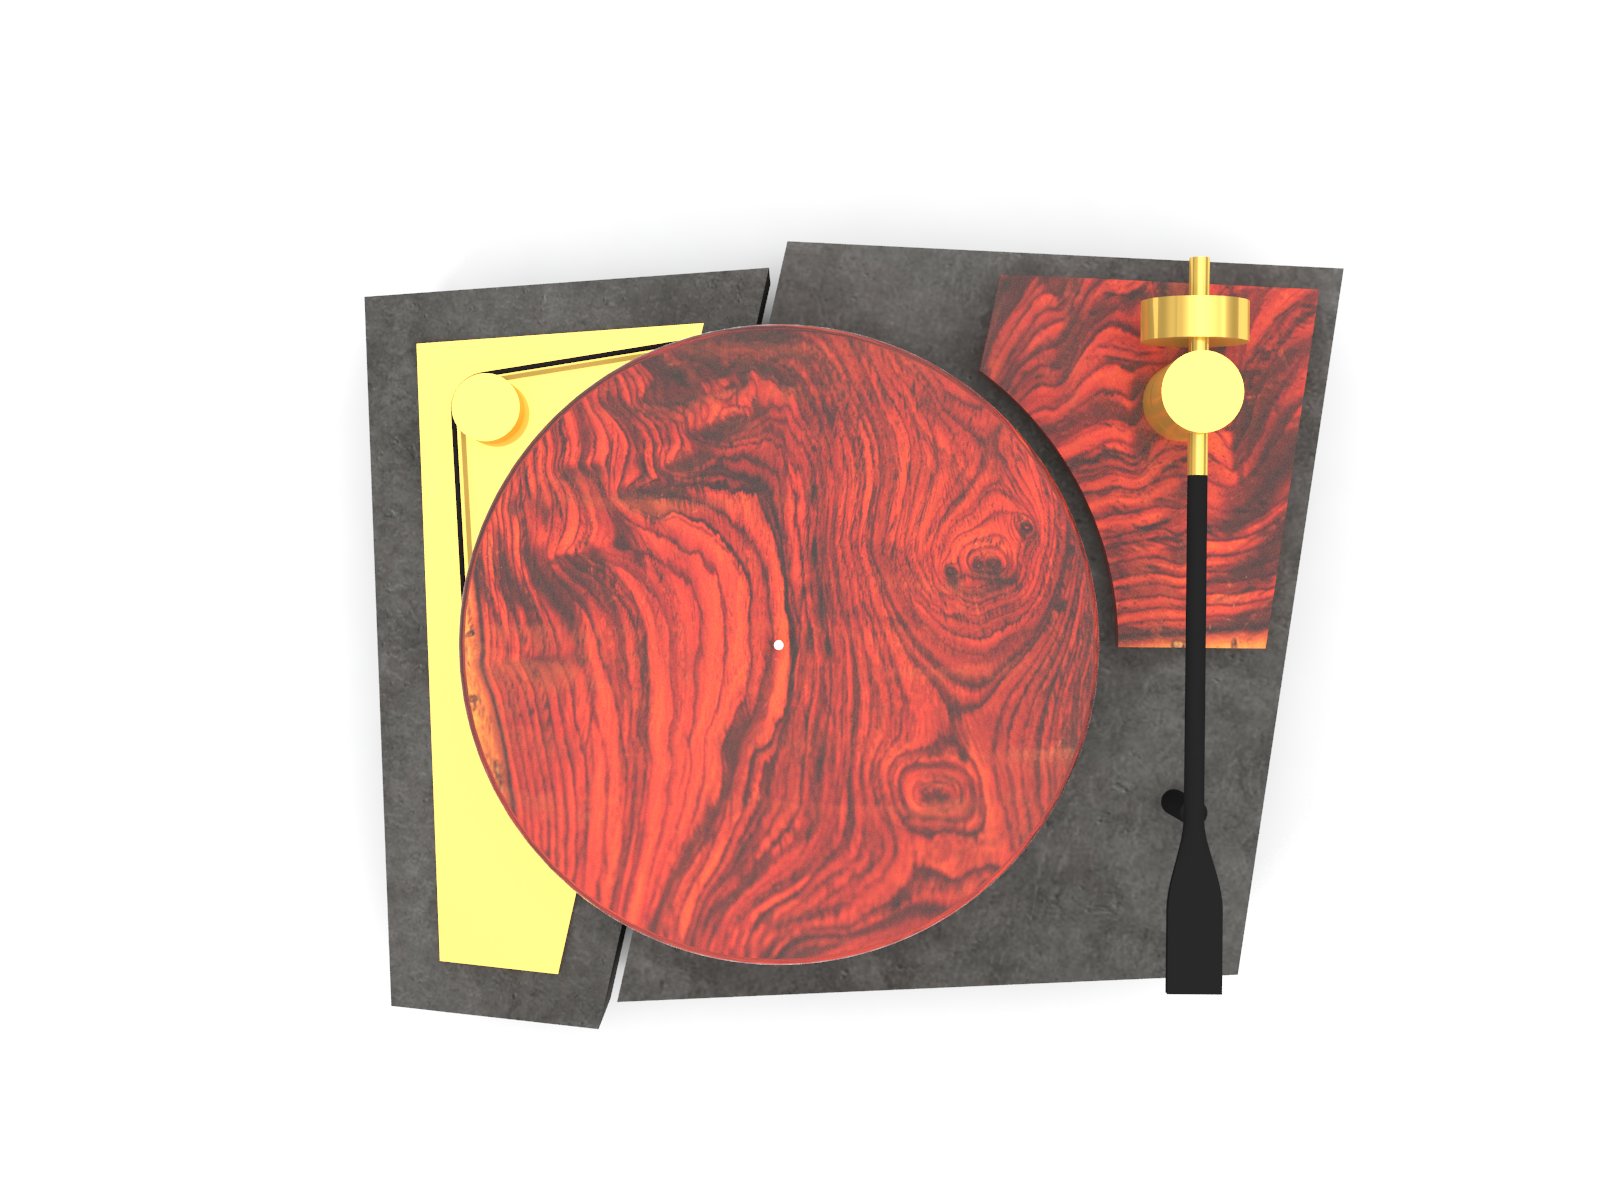
I started by drawing a rectangle, then through a series of transformations, explored how that rectangle could be skewed, separated and distorted to create a more dynamic form. Throughout this time, I kept coming back to the raw power of the mountains, and specifically the notion of tectonic plates, and how the schism of two forms might create an interesting configuration. This initial idea was then drawn up in the computer and explored digitally, where I located and modeled all of the components much more precisely. I did a couple of test renders to explore materiality, scale and proportion, as seen below.

After showing these and getting buyoff from the client, it was time to begin construction. One of the most challenging parts of the project was simply sourcing the wood for the platter. I decided on cocobolo because it is 1. exceptionally stable, and thus appropriate for something that needs to retain its roundness and flatness, 2. because it is very beautiful, especially set against the black concrete, and 3. because it has supposed great sonic effects for vinyl playback. It is also exceptionally rare and expensive and getting harder and harder to find. I lucked out upon finding a 12" wide x 14" long x 2" thick piece on EBay, which I snapped up immediately.
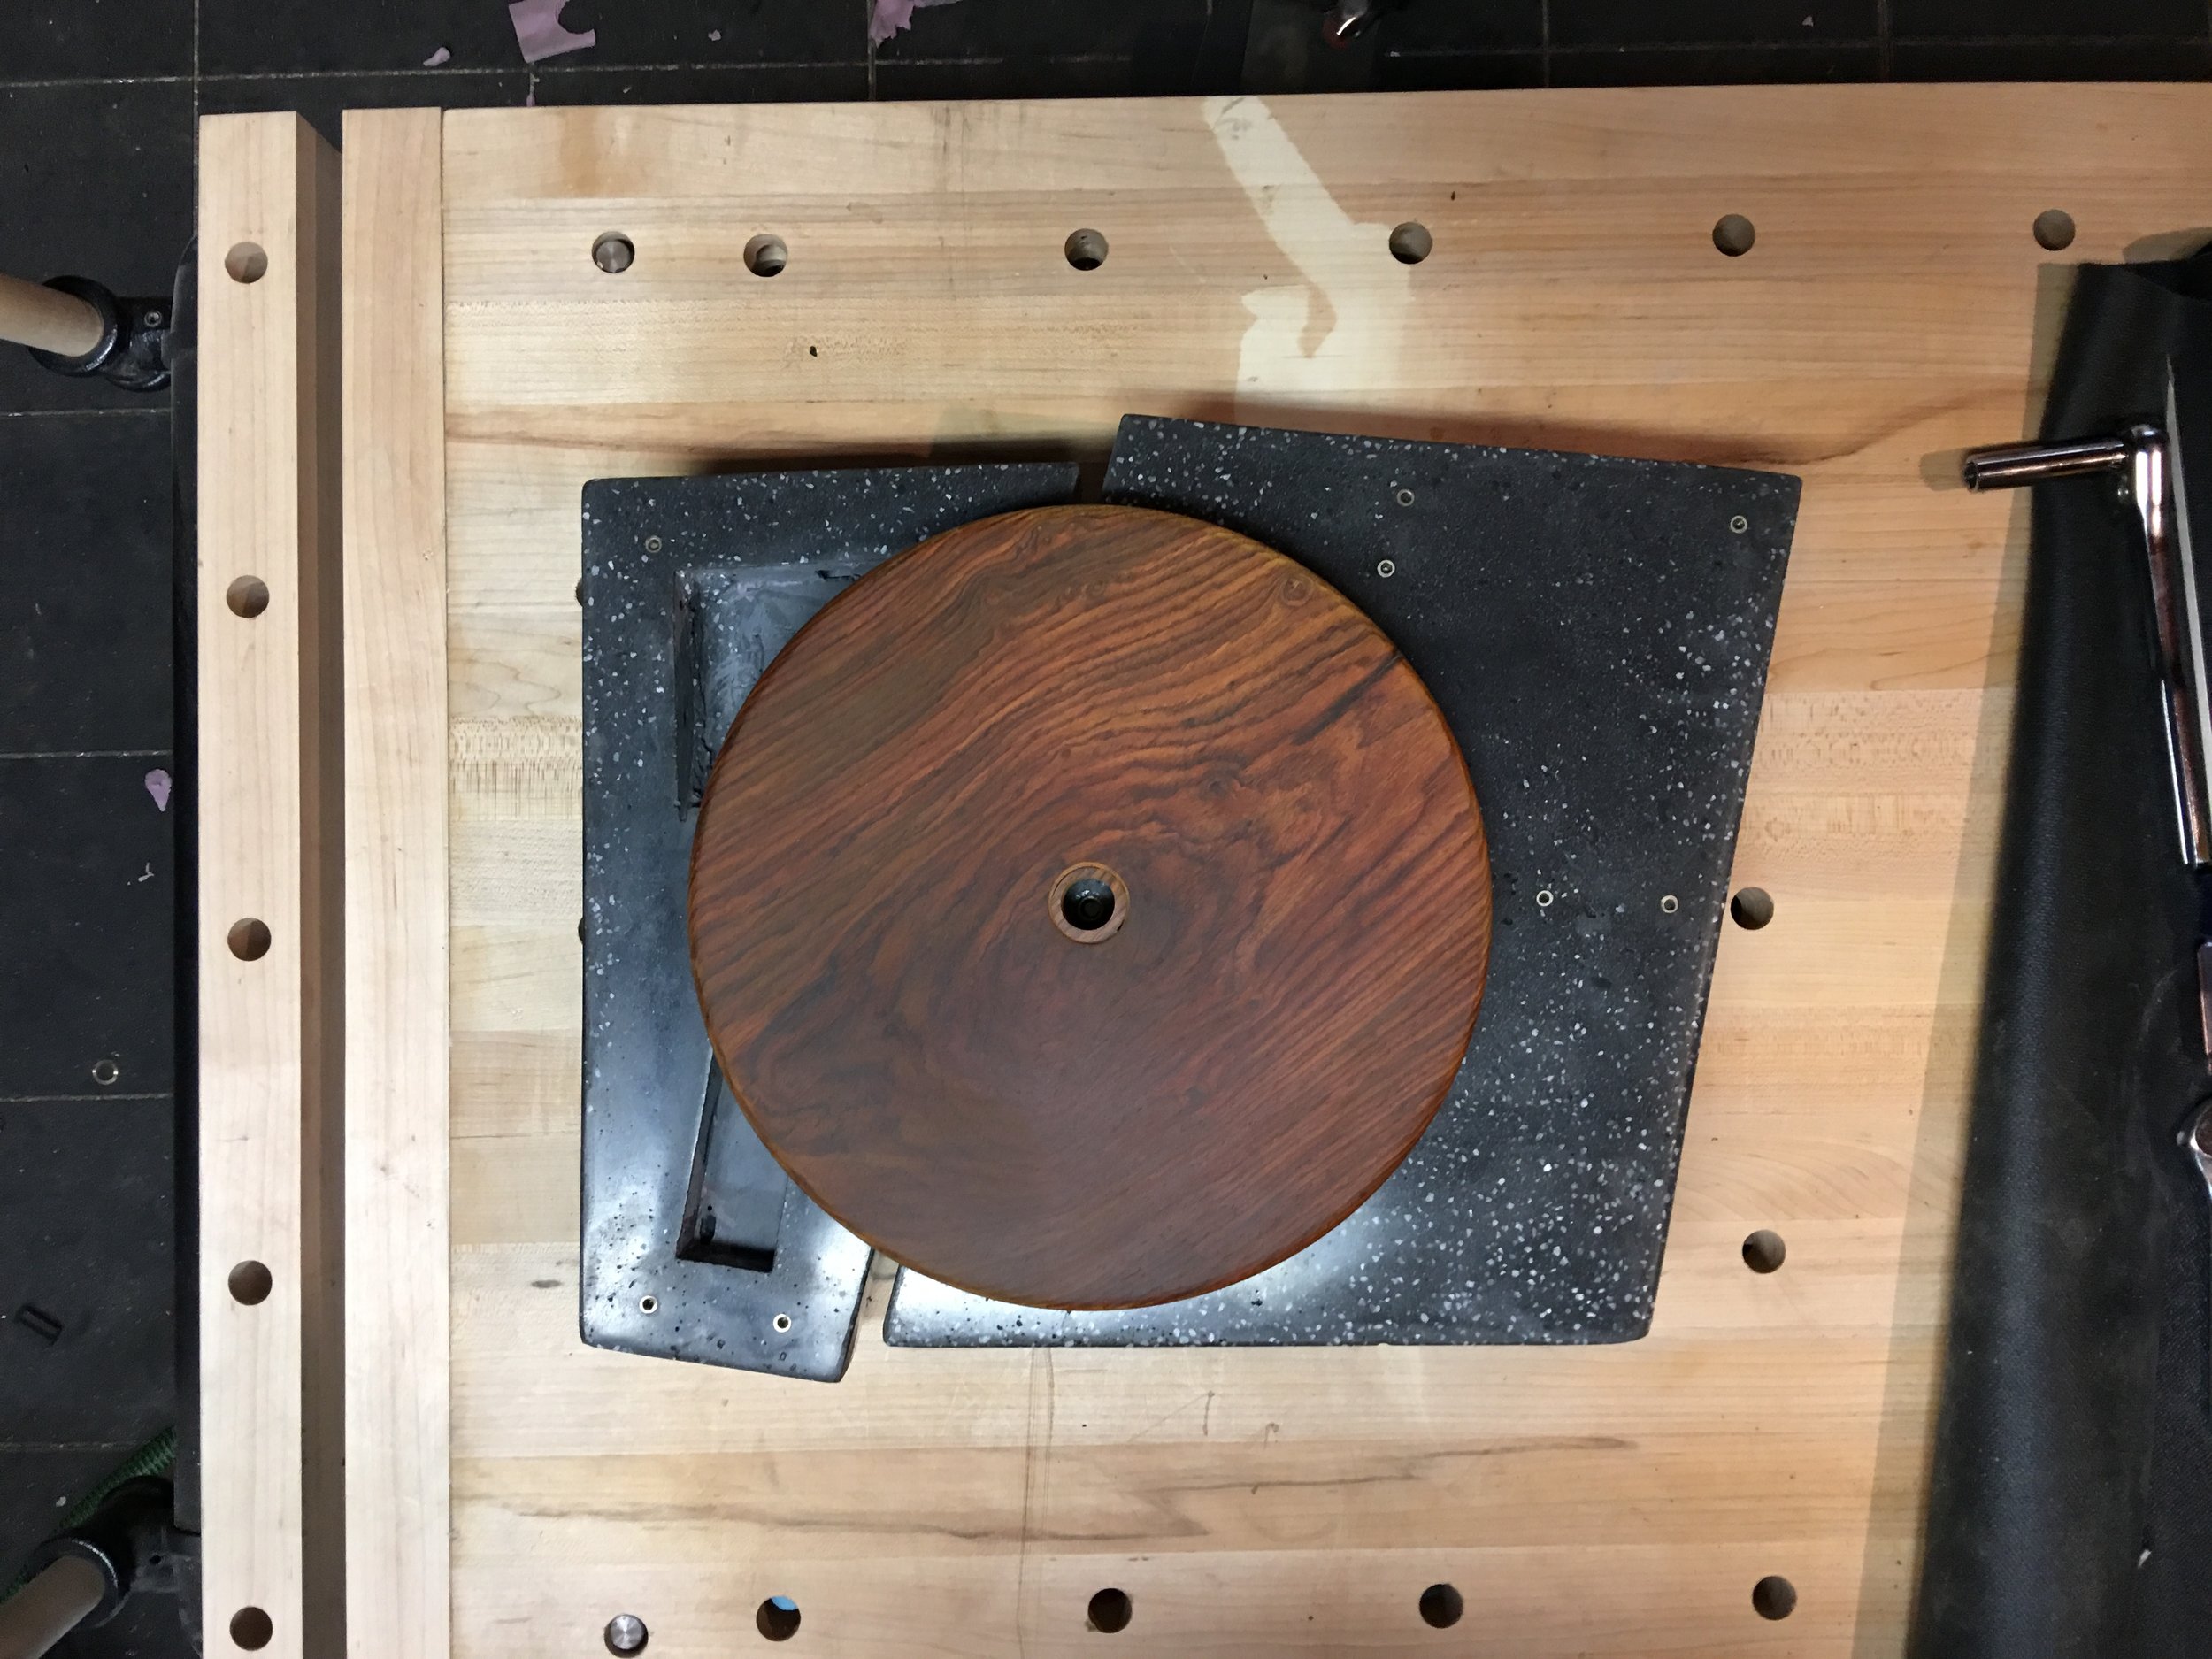
Because the platter needed to be very flat and round, I opted to let the machines do the work - and thus flattened and machined the lumber with my CNC.

Flattening the rough-cut Cocobolo.
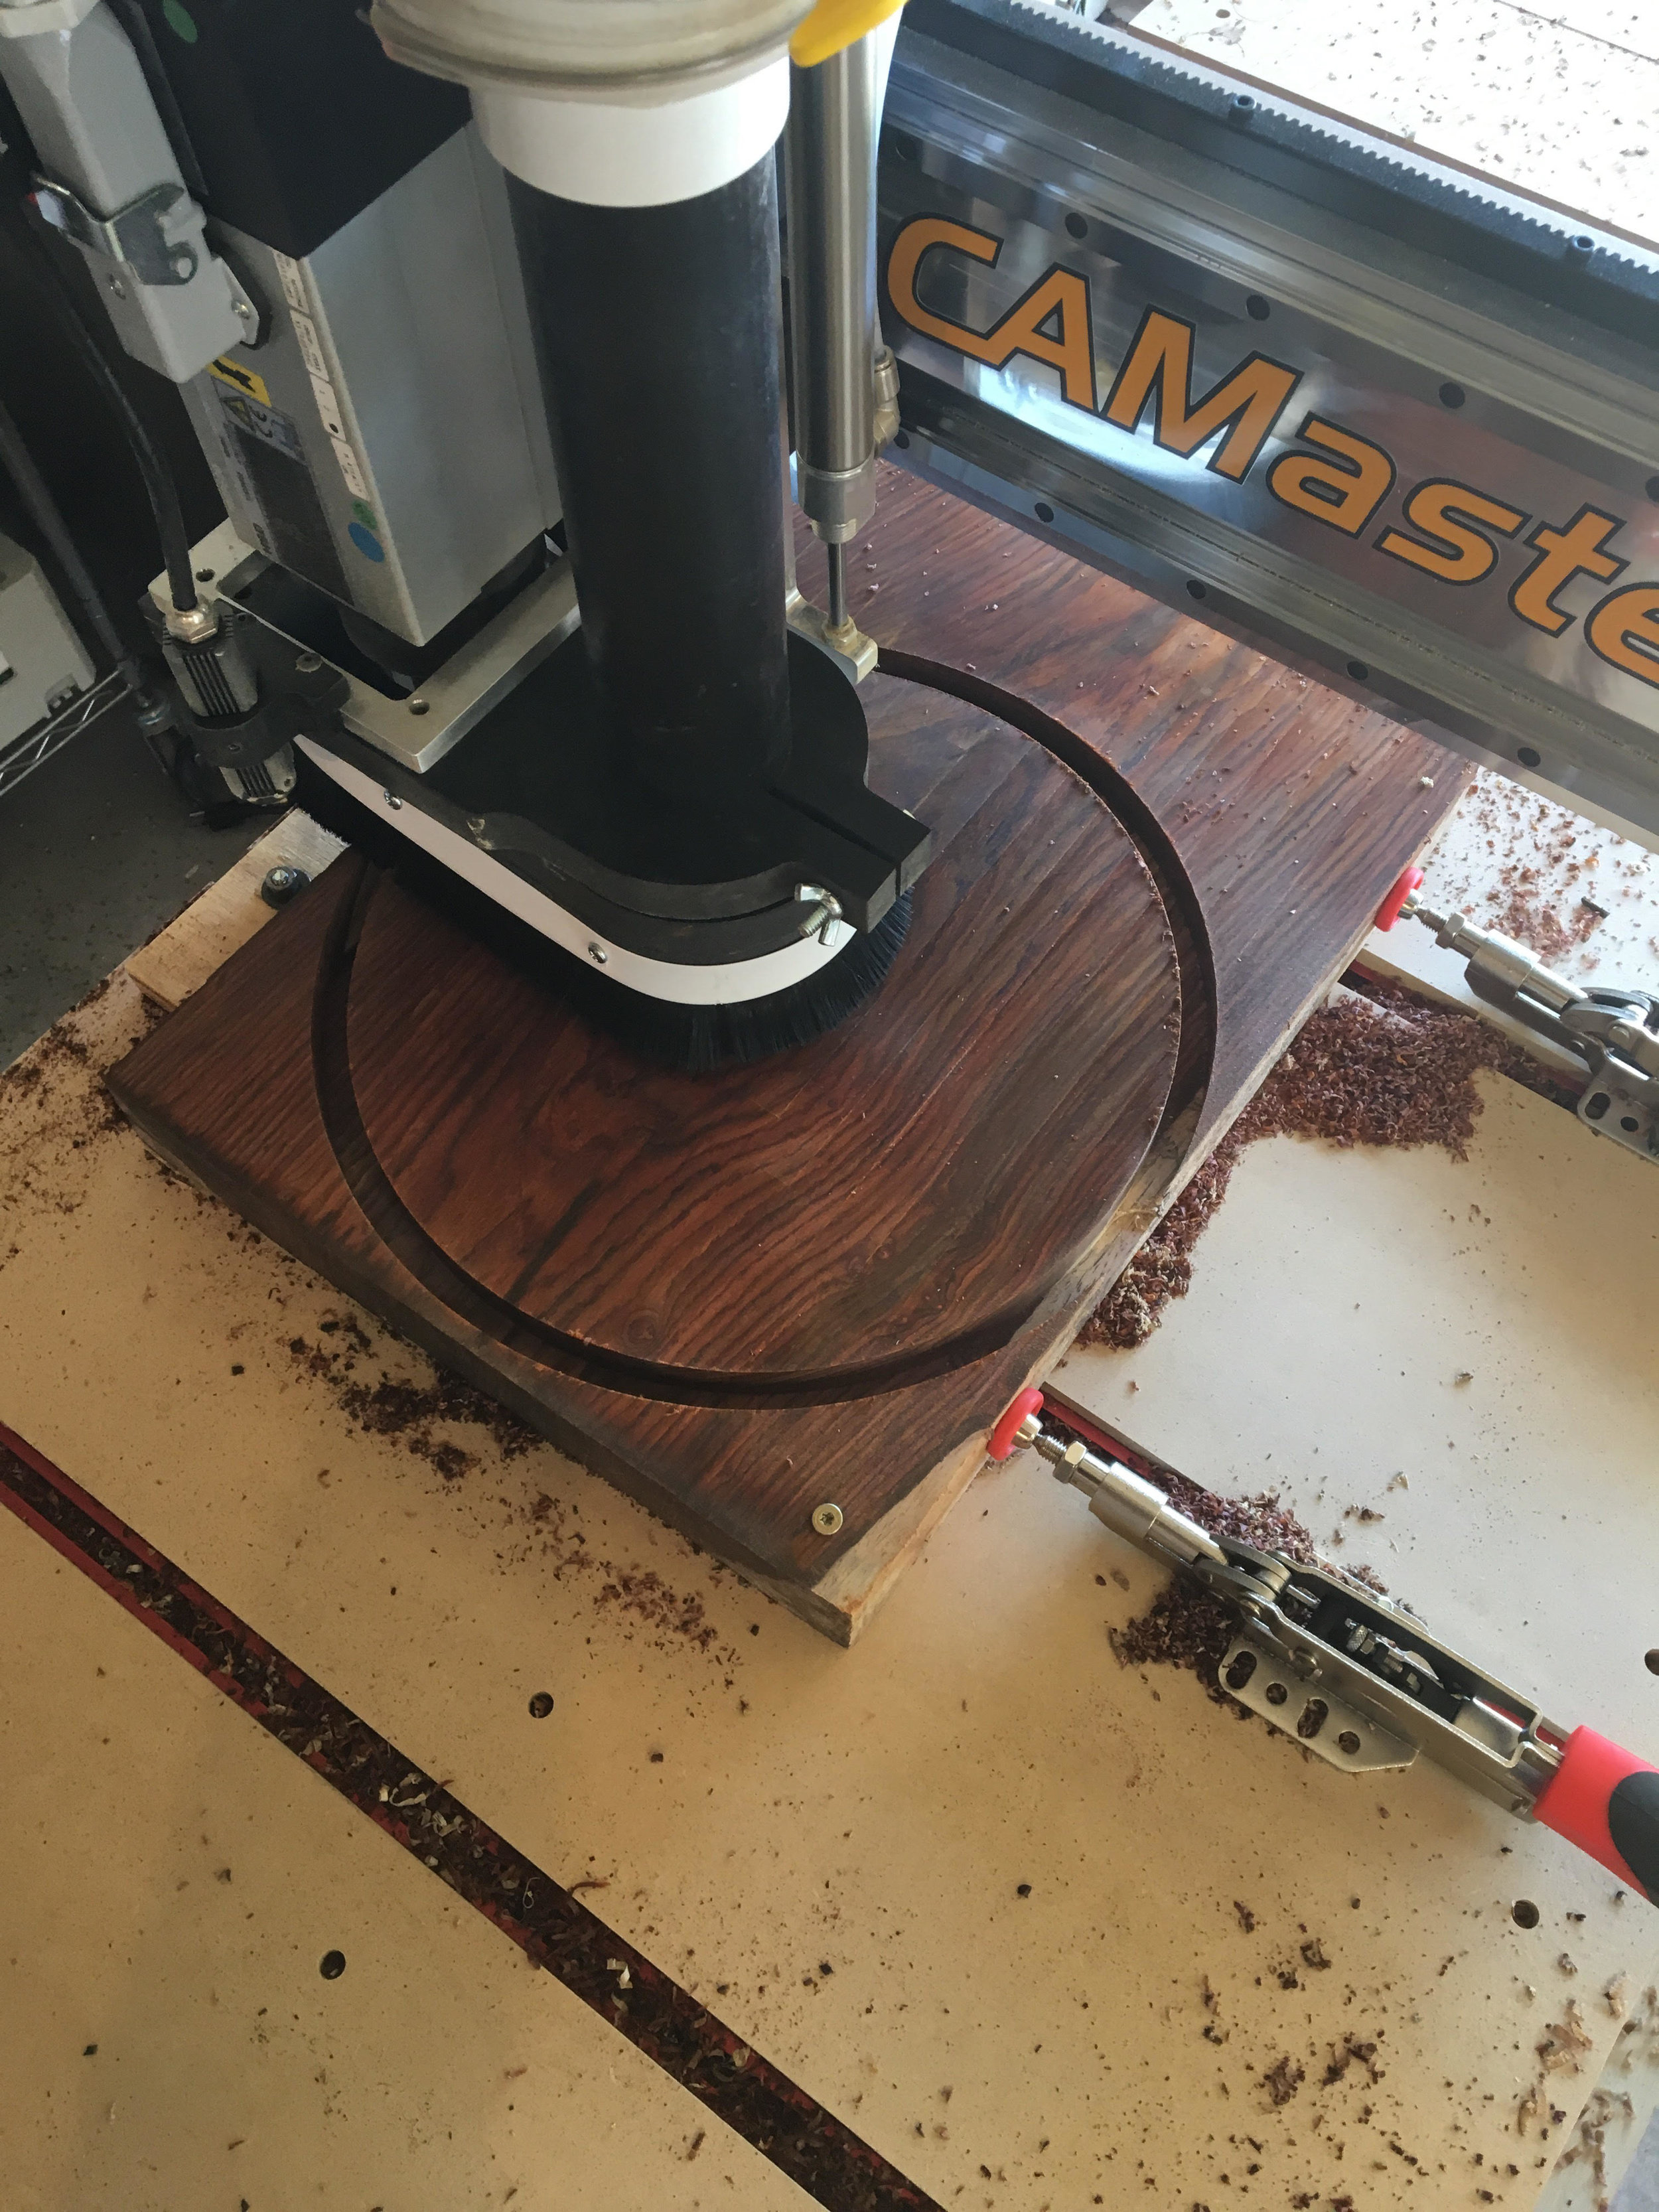
Once the board is planed perfectly flat, the center hole is bored to fit the turntable bearing and the platter is cut round.
The plinth of the turntable consists of two separated concrete pieces that are attached to a painted steel base. The concrete half housing the motor is separated from the rest of the assembly, and there is a sheet of sorbothane material between each concrete piece and the steel base to reduce the transfer of vibration between the motor and platter/tonearm.
The concrete casting turned out to be the most challenging part of the project. Each piece consisted of compound angled sides, which made the forms extremely time consuming and difficult to make, and - because of a too-dry mix the first time around - I ended up making them twice.
Assembling the forms

Forms done. The edges are sealed with silicone sealant and threaded brass embeds are located throughout for various pieces afterwards. The pink foam on the left will be removed after casting, which will leave a void for the motor assembly, while the brass rod on the right allows the spindle to be bolted through the table into the base for maximum rigidity.
The mix itself was a Buddy Rohdes craftsman mix, which has a very white aggregate. To this I added a jet-black dye, which created a really interesting salt-like texture against the black concrete mix.

Forming up the plinth in my garage / workshop.

Working the concrete into the forms. This mix is different from most in that it feels much more like working with clay than with concrete - as a result, it is much drier and stickier than a typical mix.
After the concrete dried and the forms were stripped, it was off to polish the concrete. Although wet-grinders are a nice to-have, I don't use one frequently enough to justify their rather steep cost. Instead, I purchased a set of diamond-grit sanding wheels and a GFCI fitting for my extension cord and used my trusty angle grinder to polish the plinth. I worked from 100 - 2000 grit pads, which both exposed the white aggregate within and polished the concrete to a nice sheen.

Polishing concrete is a messy, wet job.
I finished the concrete by soaking it several times in tung oil, then polishing it with paste wax. This is undoubtedly the softest finish I've ever used on concrete and - given that the plinth won't have to sustain the same abuse as a kitchen countertop - will more than suffice for durability.
It's starting to look like a turntable.

Here you can see the sapwood of the Cocobolo, which has a drastically different color than the deep red-orange heartwood. This is set atop the black plinth, which has its white aggregate exposed to create an almost stone-like texture. A groove is cut into the platter to keep the belt in place.
After the concrete was done, I welded together the base out of cold-rolled steel plate. I then drilled holes to connect to the concrete plinth, painted it, and adhered the sorbothane vibration damping material to the intermediate side.
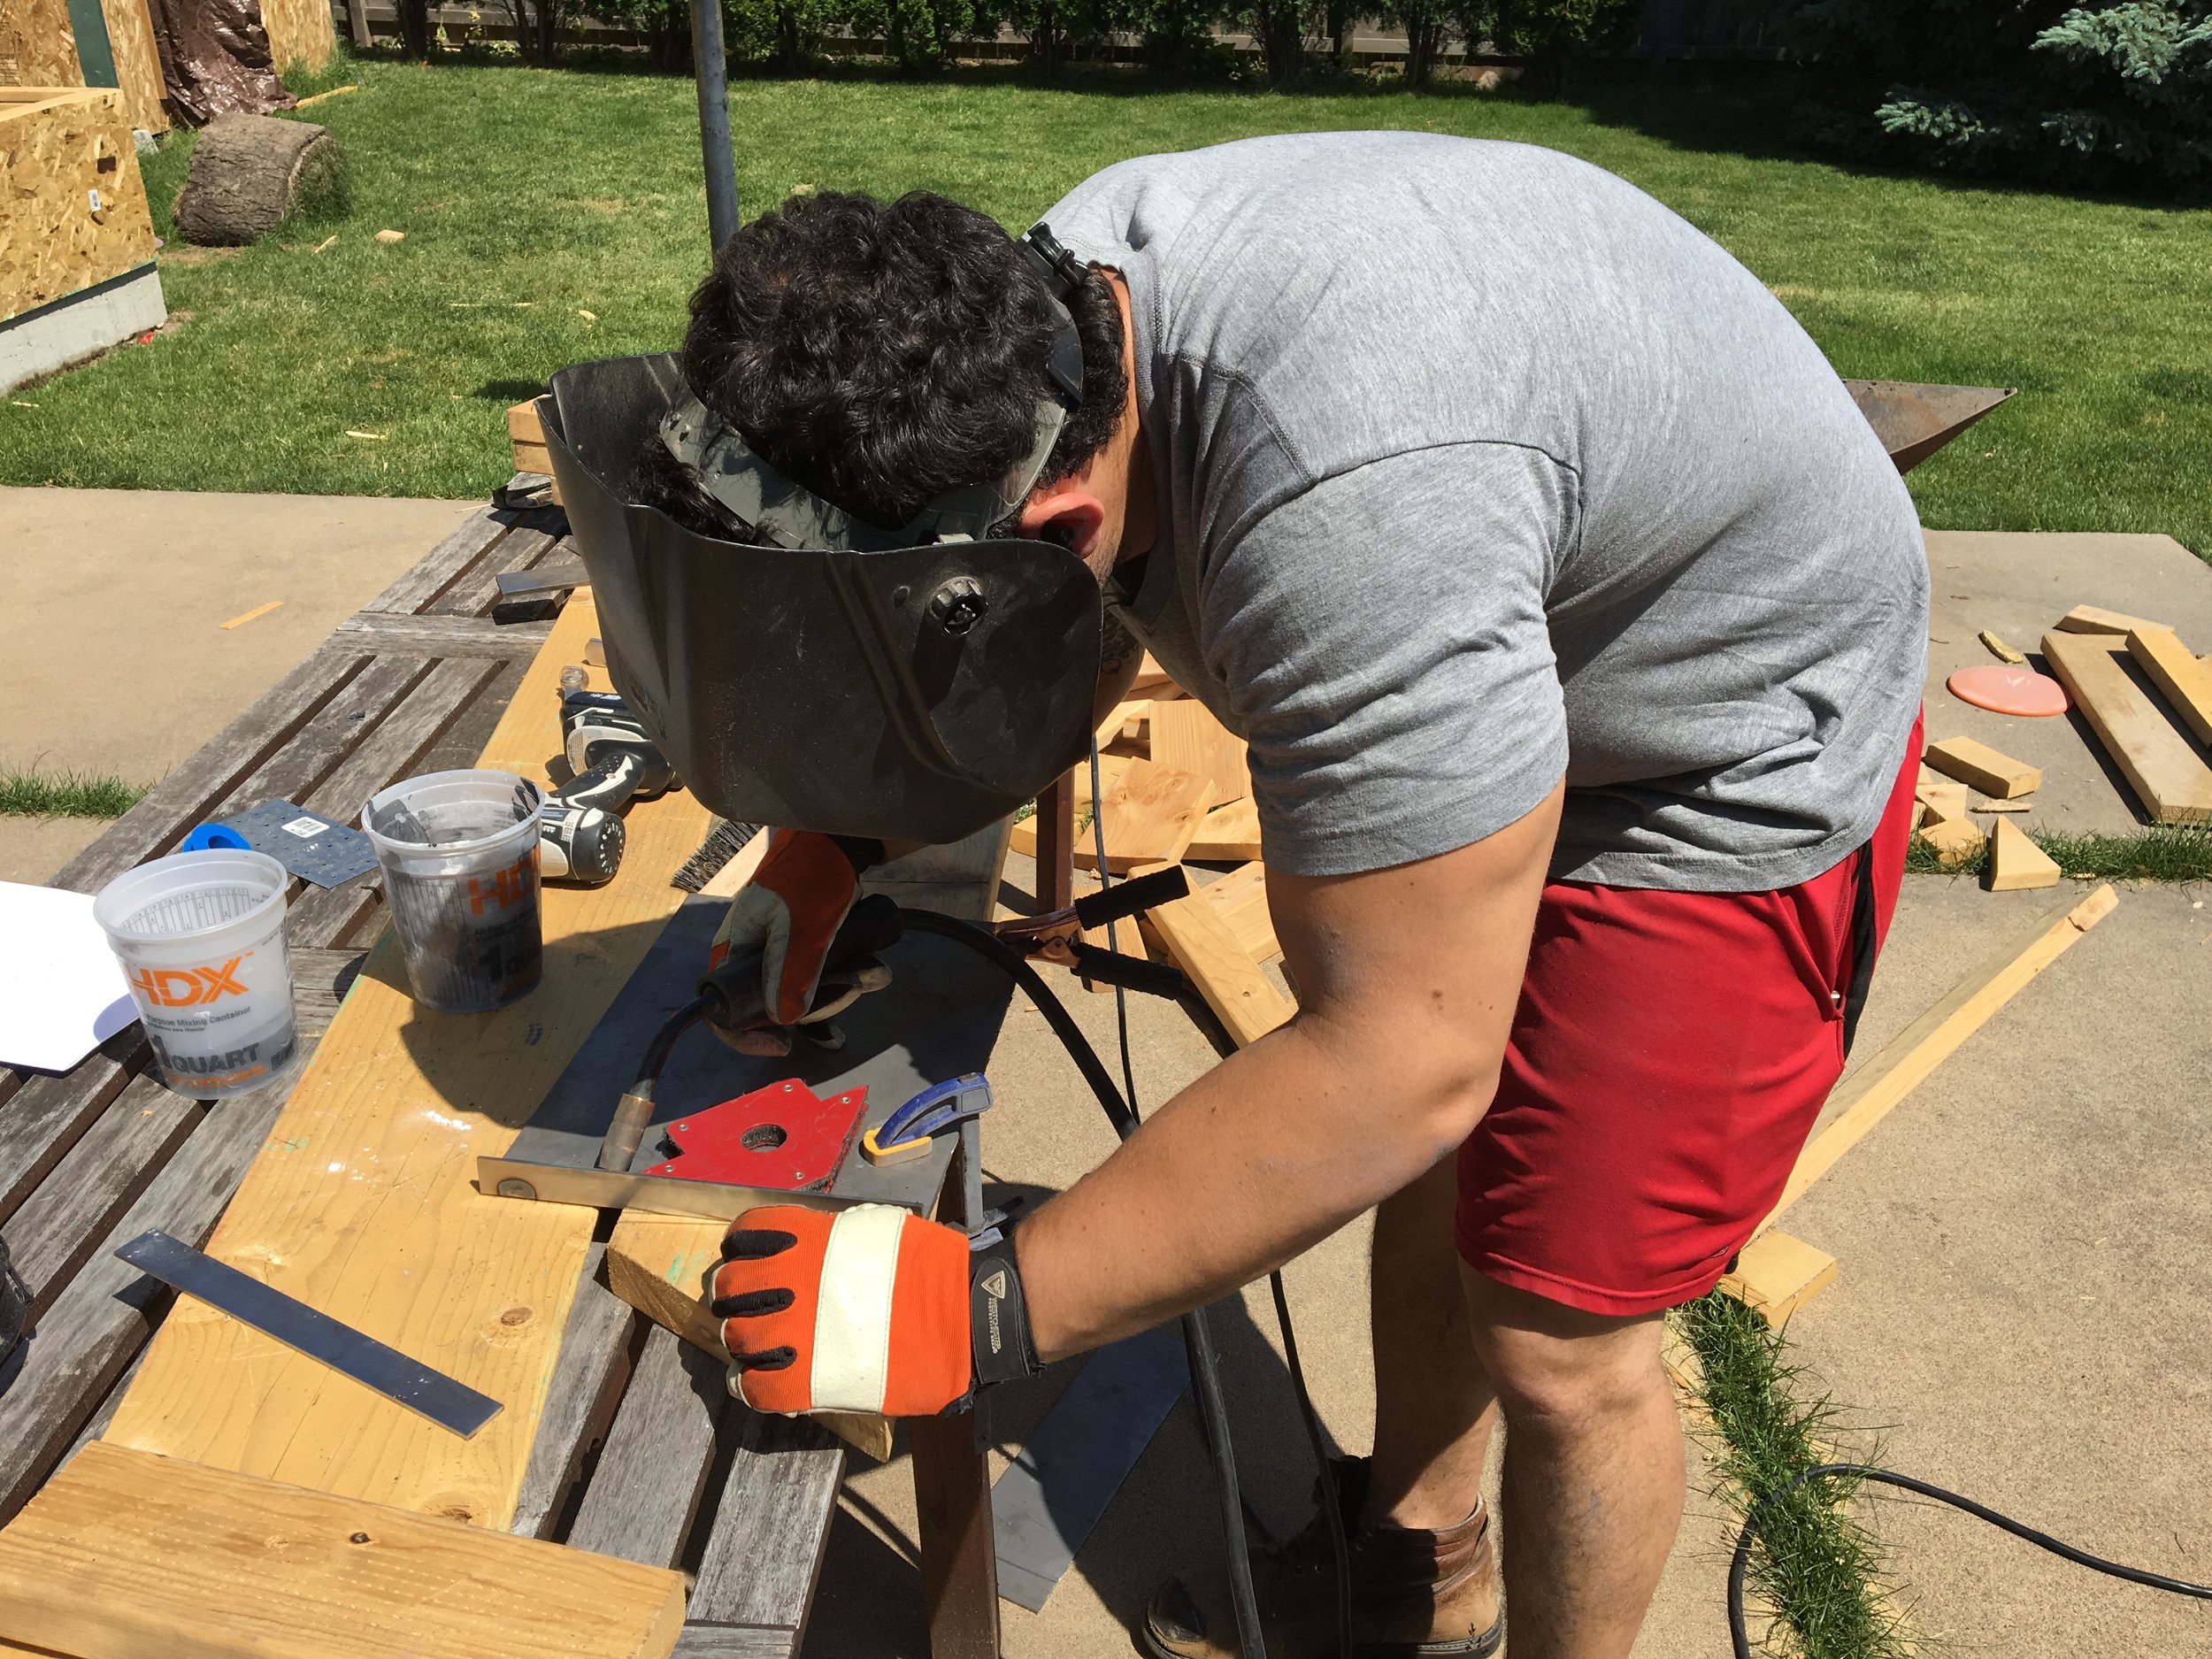
Welding on my welding bench / patio table.
After this step, the concrete plinth, steel base and cocobolo platter were assembled. Next, this was all put to the side to work on the brass cover plates, motor, and tonearm.
The tonearm is a unipivot tonearm which utilizes a ruby jewel vee bearing and polished stainless shaft. The components are made entirely of solid brass, while the tonearm wand was turned by hand from gaboon ebony - an unbelievably beautiful material - but one that is very difficult to work.

An early view of the tonearm assembly during fitting and tuning. All parts would be further polished and then finished with a museum-grade wax.
Now there are dozens of tonearms out there, with set ups and adjustments that range from very simple to exceptionally complex. Like most of my designs, I wanted the aesthetic and set up to be as simple as possible, without being too simple. Therefore, it utilizes just a single counterweight (with screw micro adjustment) to adjust azimuth and tracking weight. It is slightly more finicky to set up than some other tonearms out there, but I believe the simplicity and beauty of the single counterweight more than makes up for the mechanical cacophony that is often seen on tonearms of more complex adjustment. This particular tonearm is a 10" tonearm and is paired with a Denon DL-103 cart.
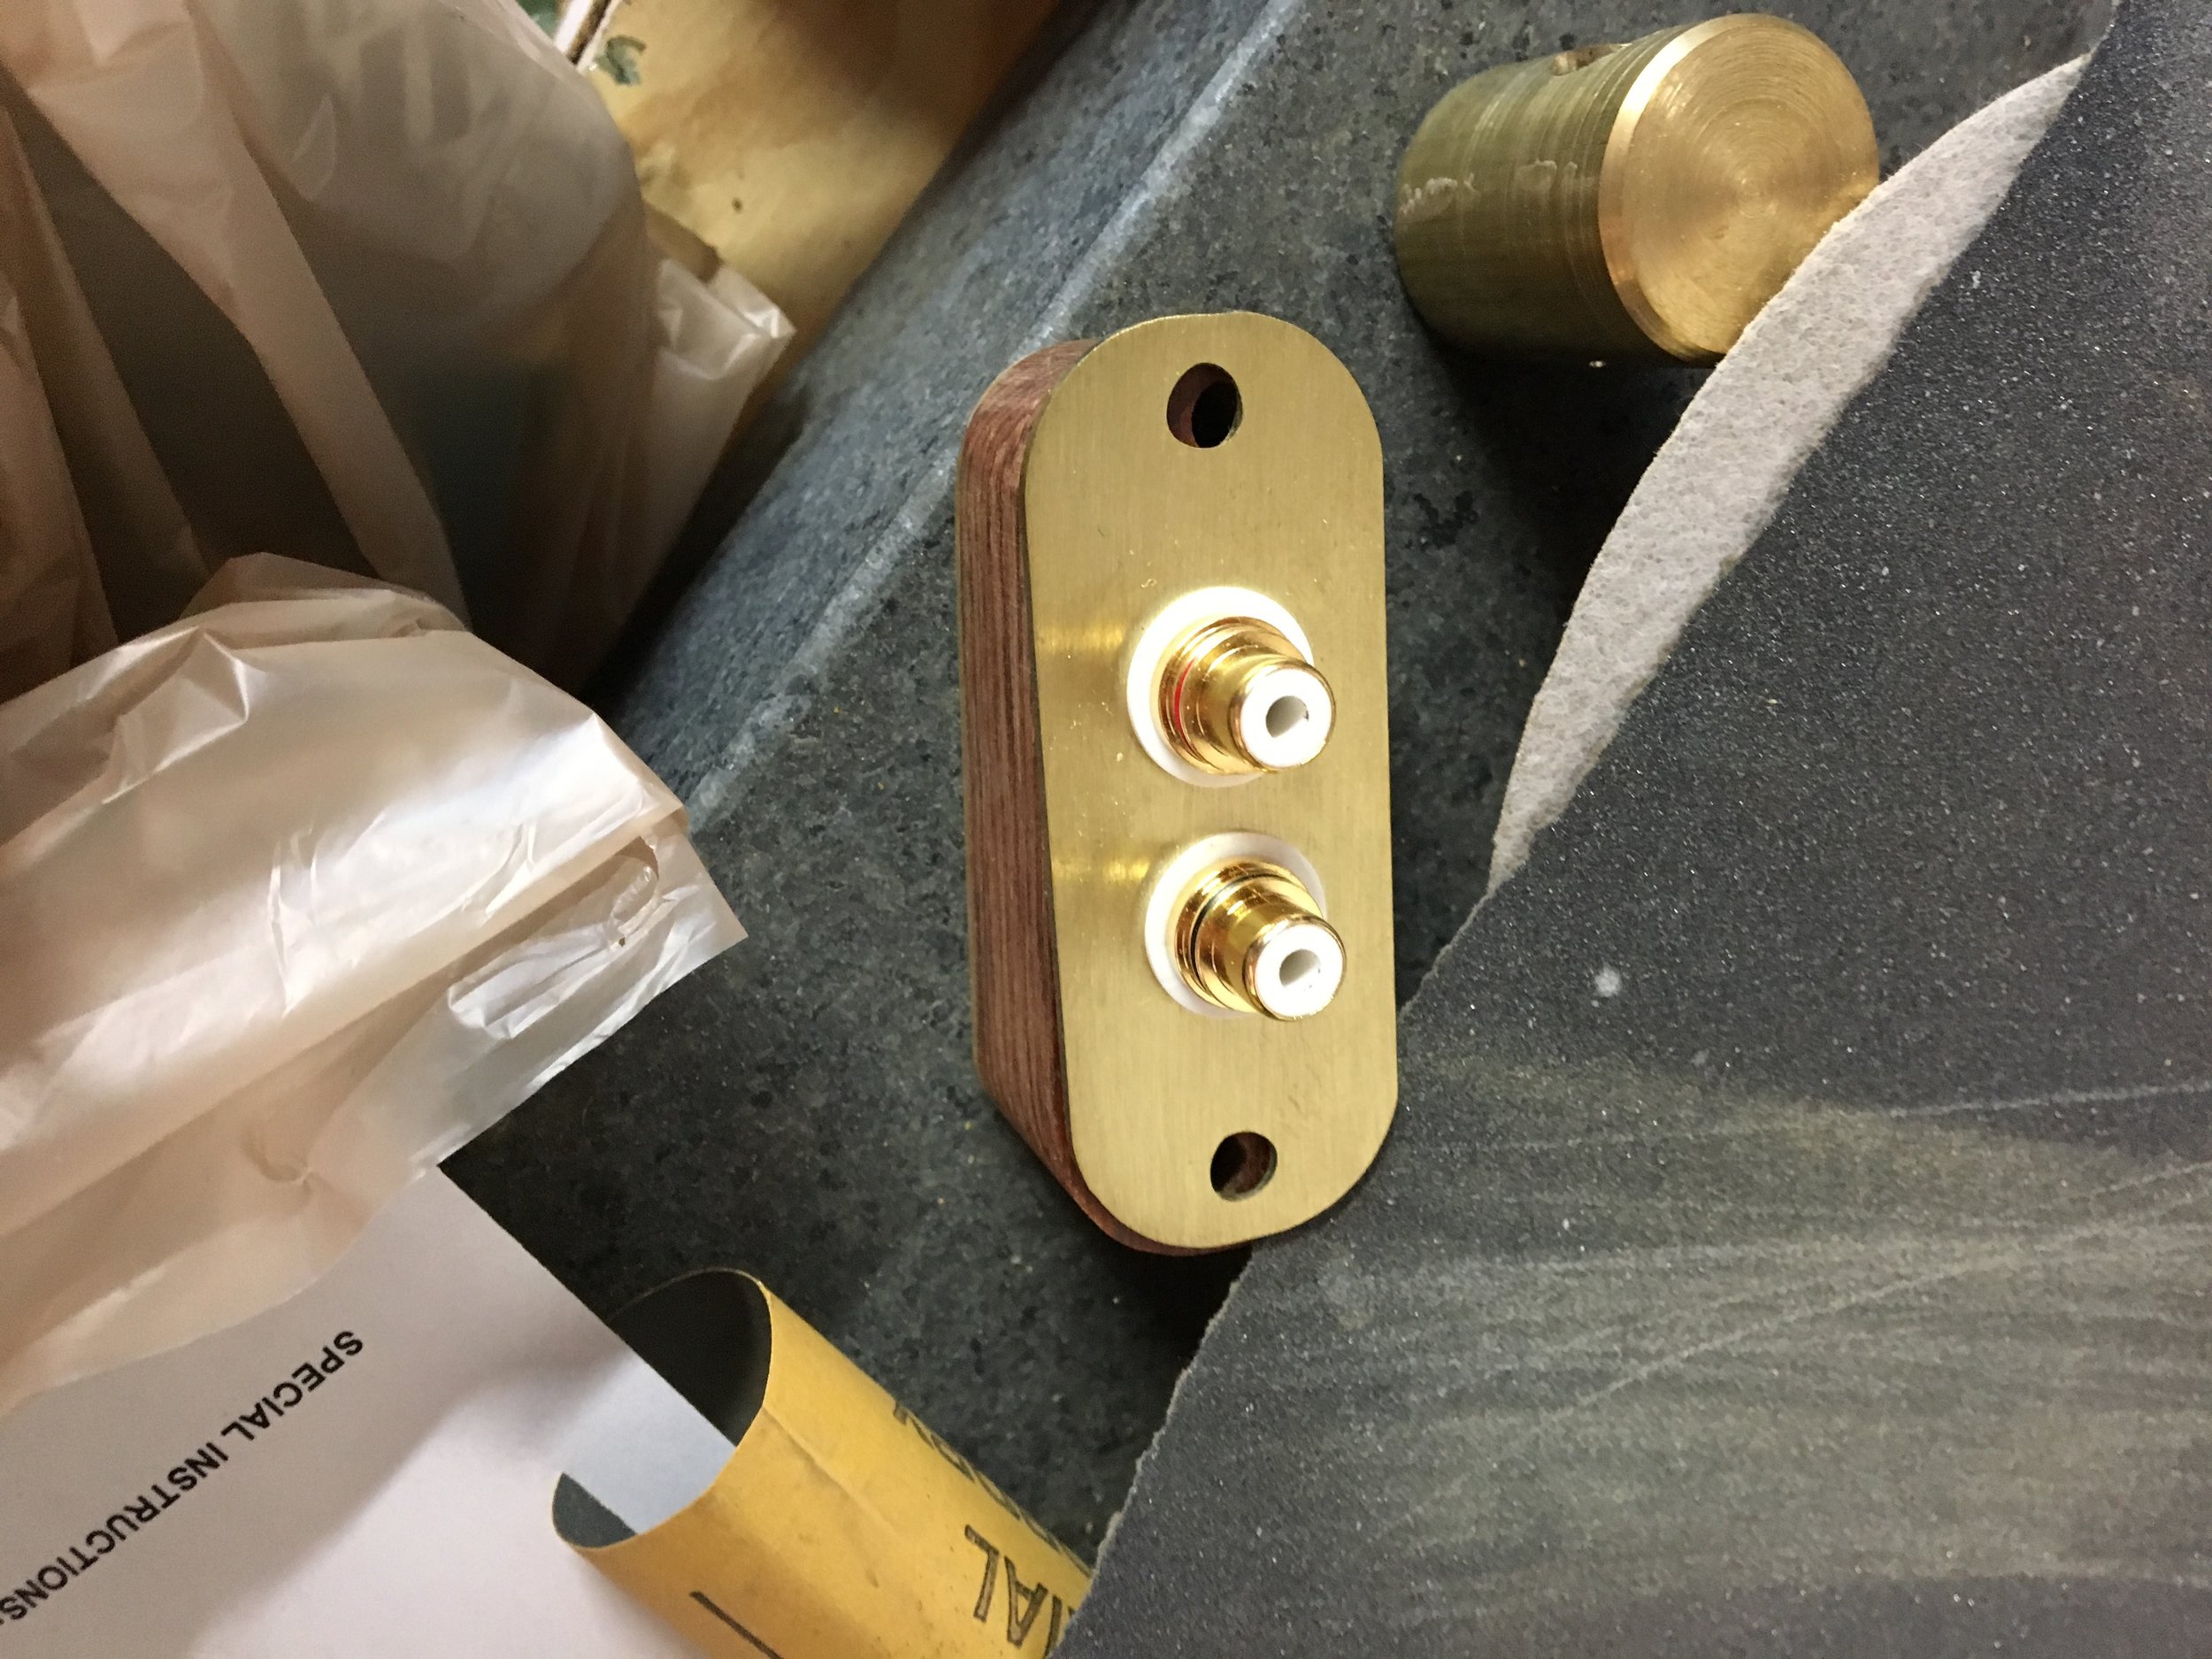
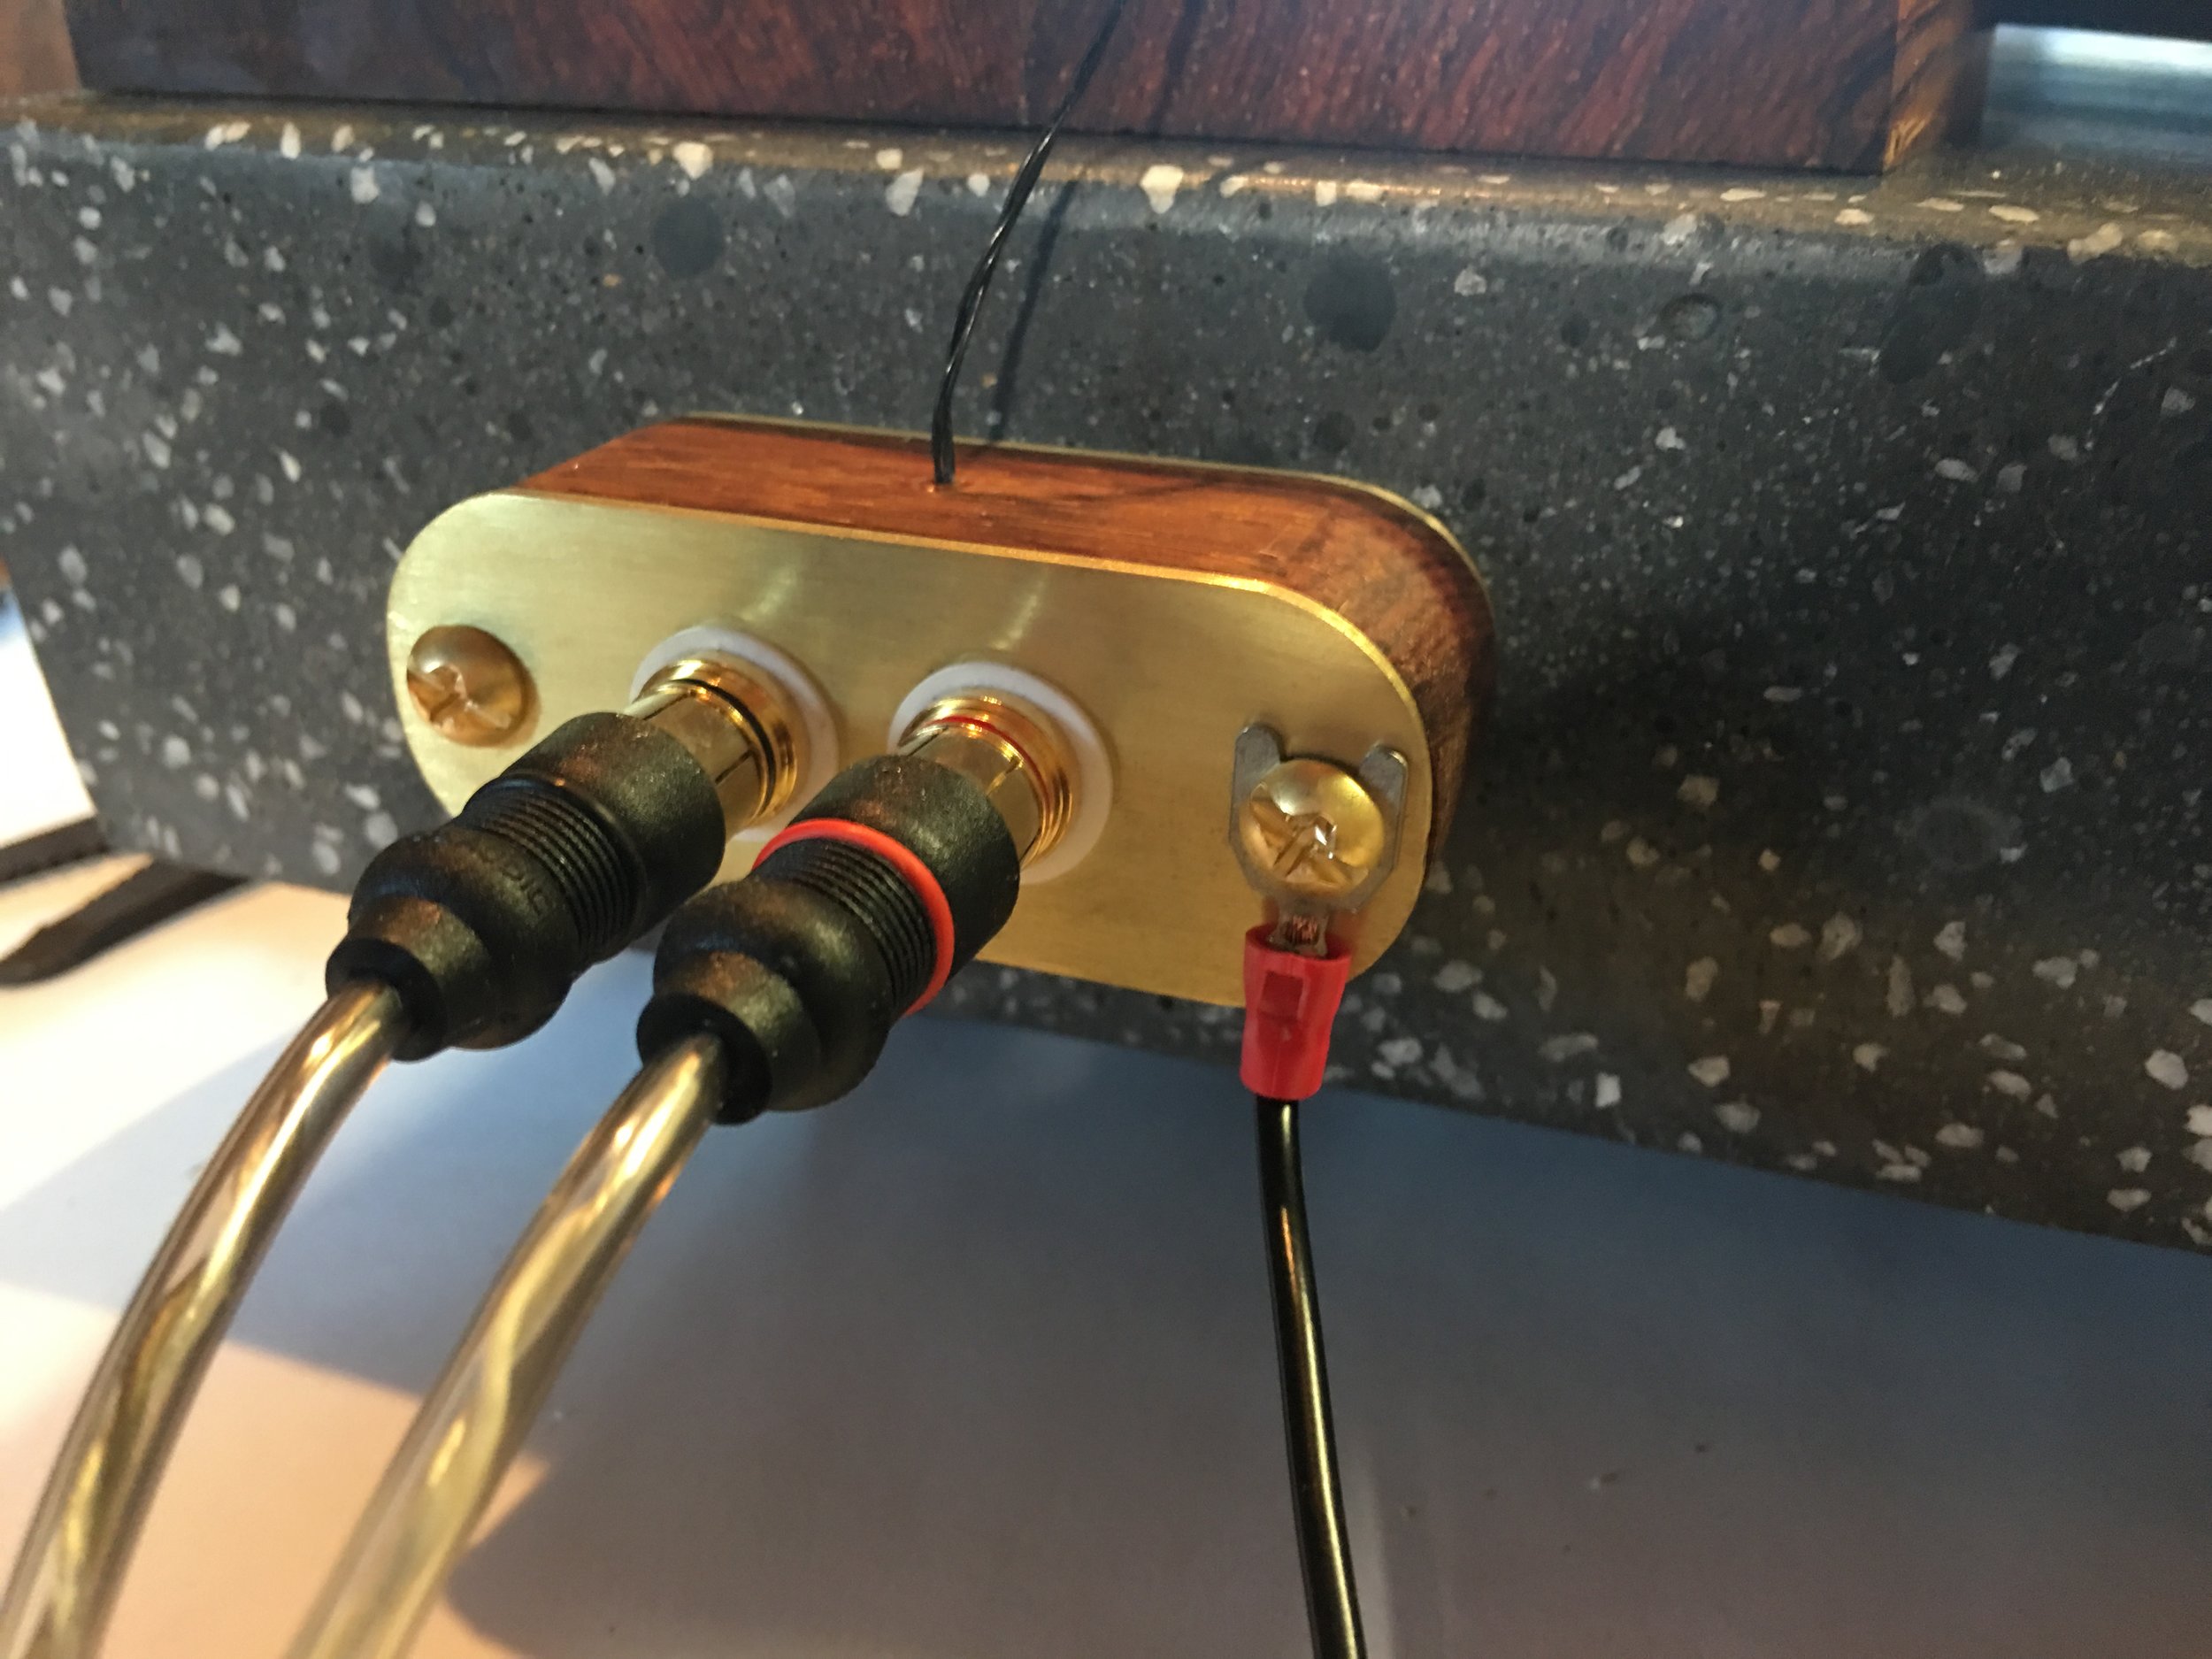
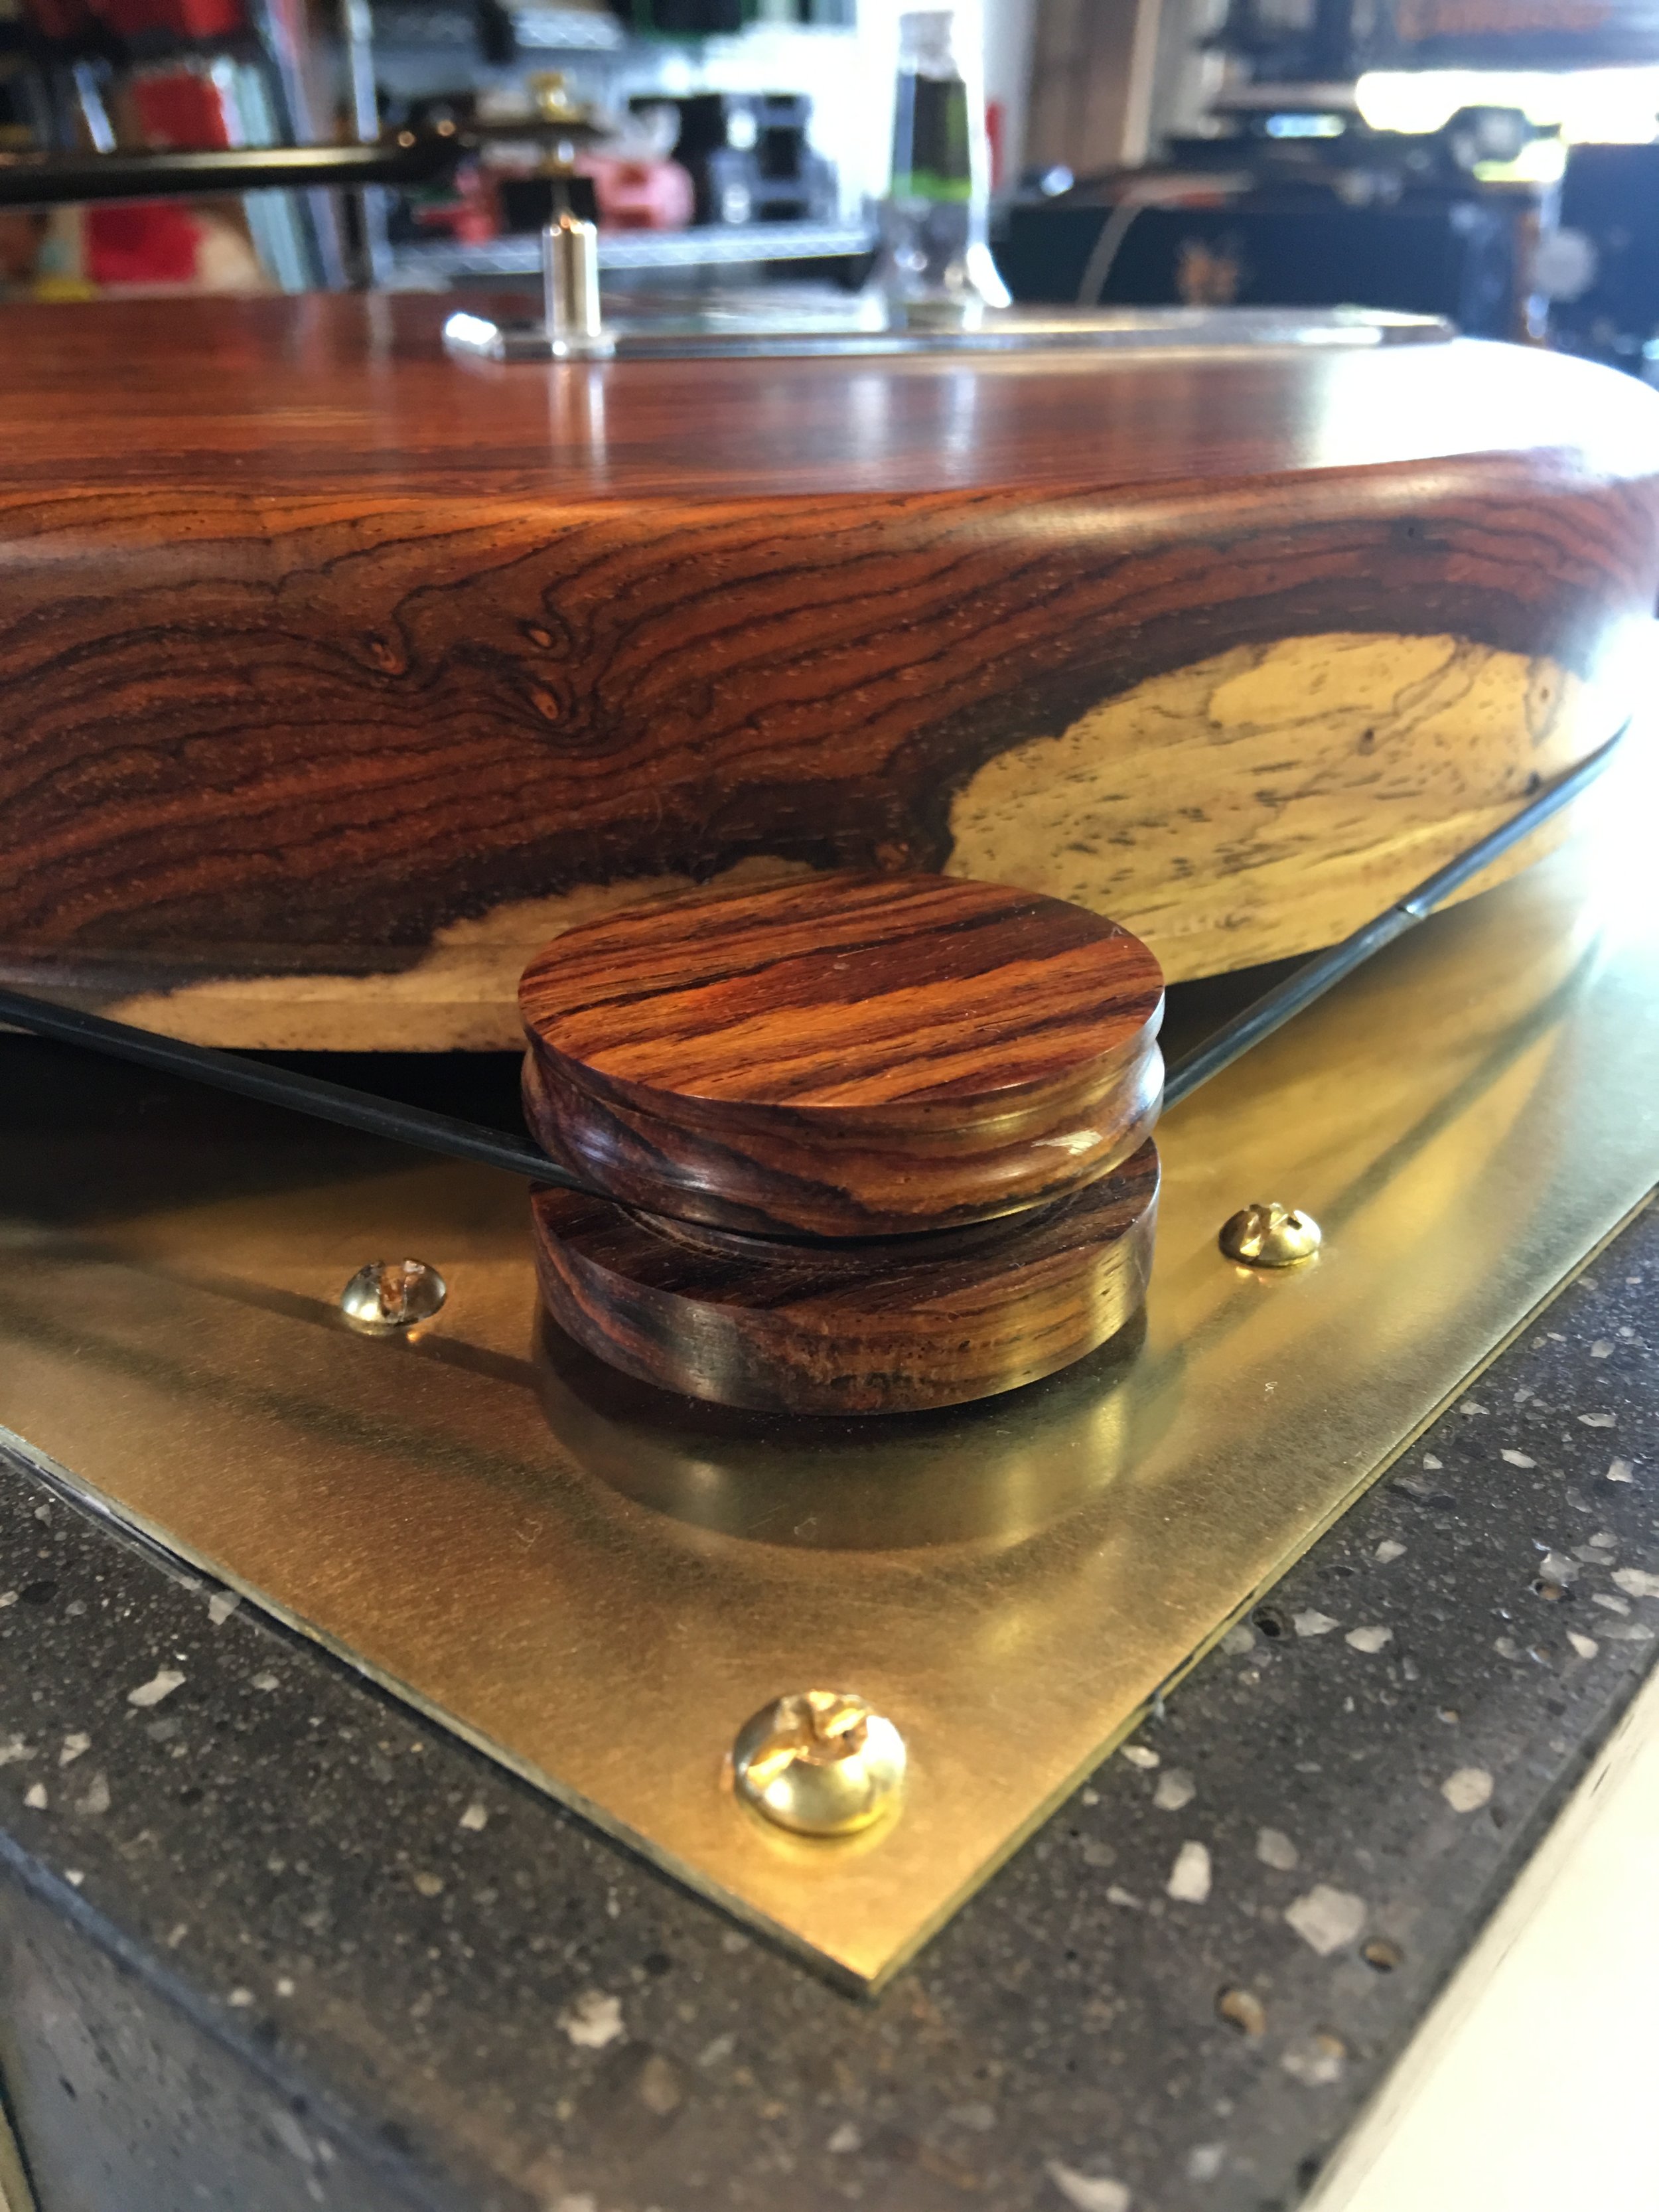
Cocobolo and brass RCA connections.
I believe that every piece of the turntable should be beautiful - from the most visible parts (like the platter) to the most oft neglected (like the cable connections). I thus crafted the RCA connections into a receptacle made of Cocobolo and brass, that was then bolted to the back of the plinth. Doing so elevates even the humble RCA connection to a moment of beauty.
The motor is a high-quality premotec AC hysterics synchronous motor. I turned the pulley from cocobolo to accommodate both 33.3 and 45 RPM records.
Cocobolo pulley.
All that remains at this point is set up, testing and tweaking - which admittedly took quite a long time for this piece. Aesthetically I wanted the tolerances between the unipivot head and its base to be quite small, so I ended up having to do a lot of tweaking to the brass tonearm base to get the correct VTA on the tonearm cart; however, the efforts were well worth it in the end.
Here are a few photos of testing the turntable:


The moment of truth - testing it out for the first time with a pair of speakers I built a few years ago - Paul Carmody's "Overnight Sensations."
It's funny - even though a turntable is an inanimate object, going through this process I felt intimately connected to it. After spending dozens and dozens of hours working to form a piece out of raw materials and finally seeing it come to life, it's always a little painful to send it off - like saying goodbye to a friend you know you'll never see again.
So after I finished, I took the remainder of the afternoon and listened to a handful of my favorite records on it, said my farewells and proceeded to prepare for the scariest part of the project - shipping it halfway across the country.
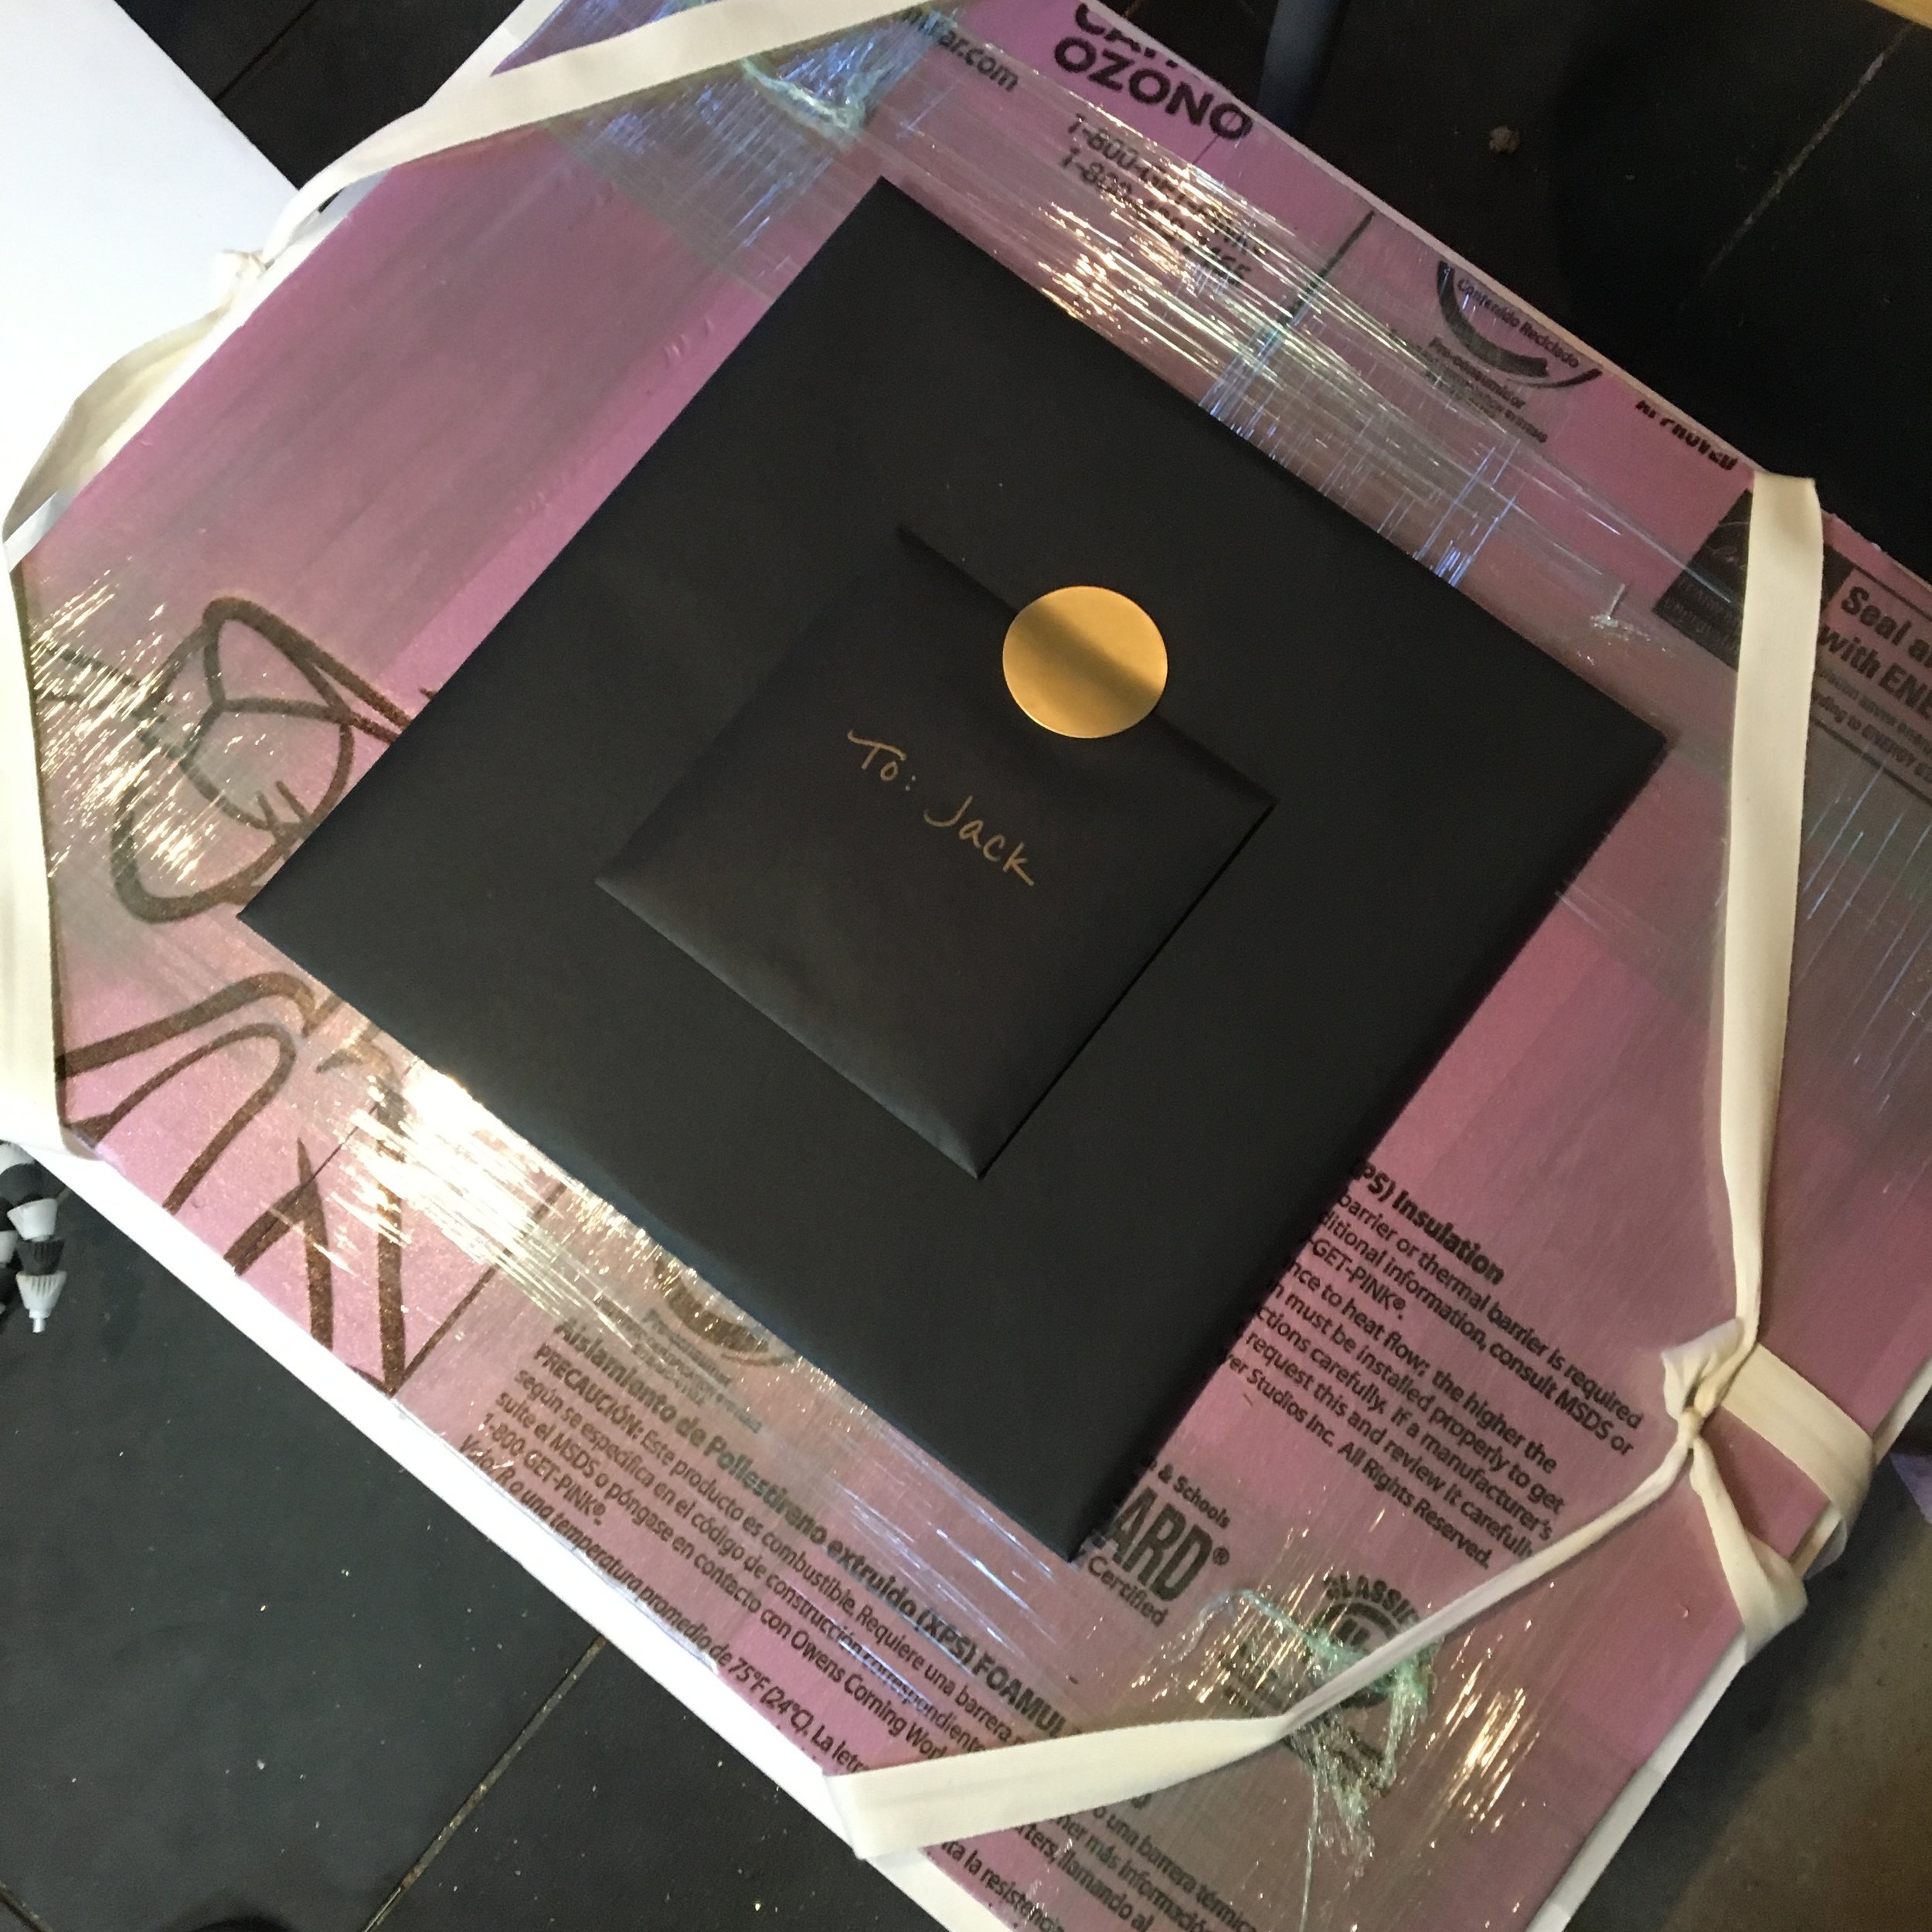
I ended up creating a hideously effective solution - essentially creating a foam box within a foam box, trapping the turntable and every single moving part in place for the long journey to Idaho. I didn't sleep for a week, desperately hoping it would make it there unscathed and functional. Thankfully, it arrived safely and intact to Sun Valley, Idaho for its new recipient, Jack.
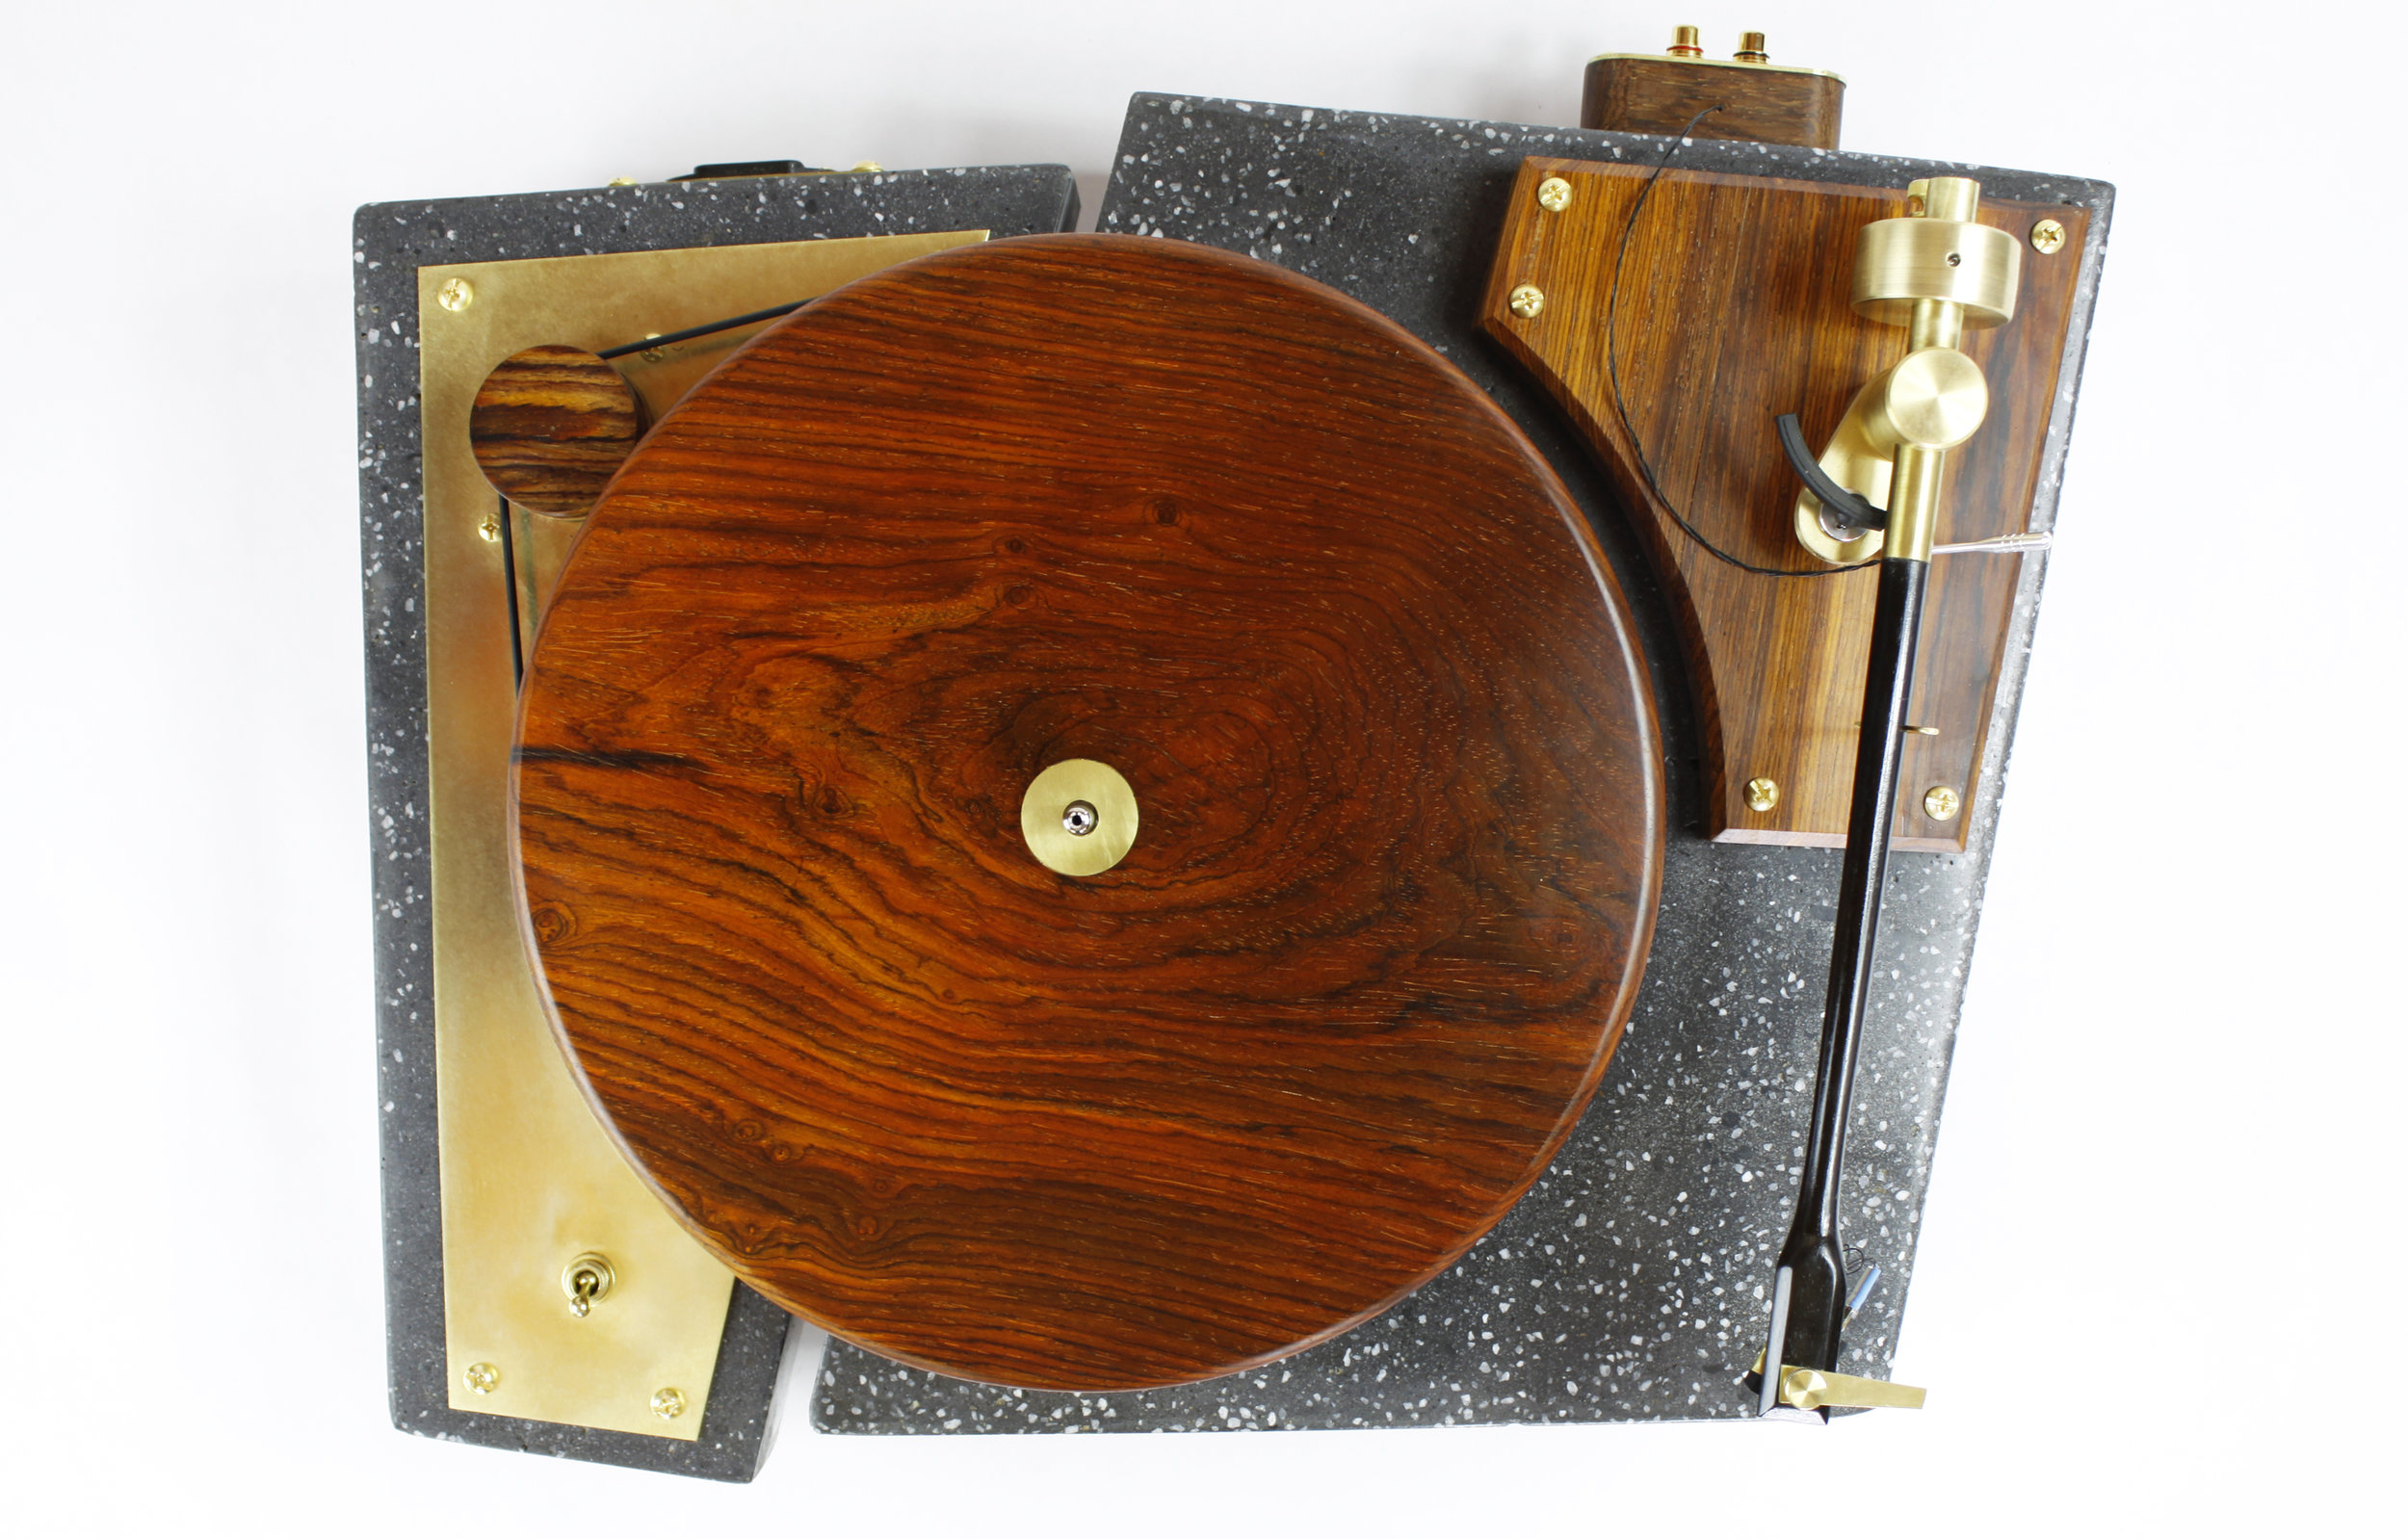
Finally, here are the "glamour shots":


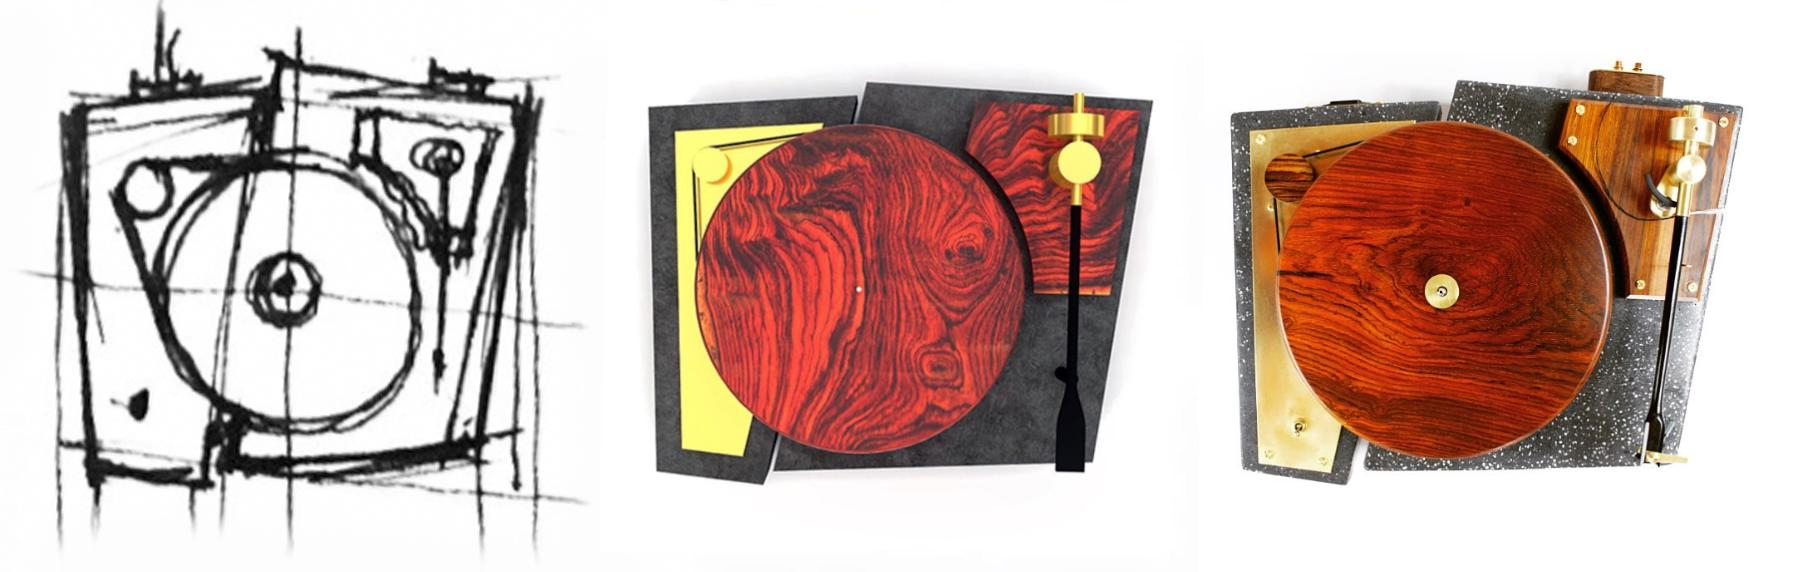
The evolution of design - from sketch to render to actual table.

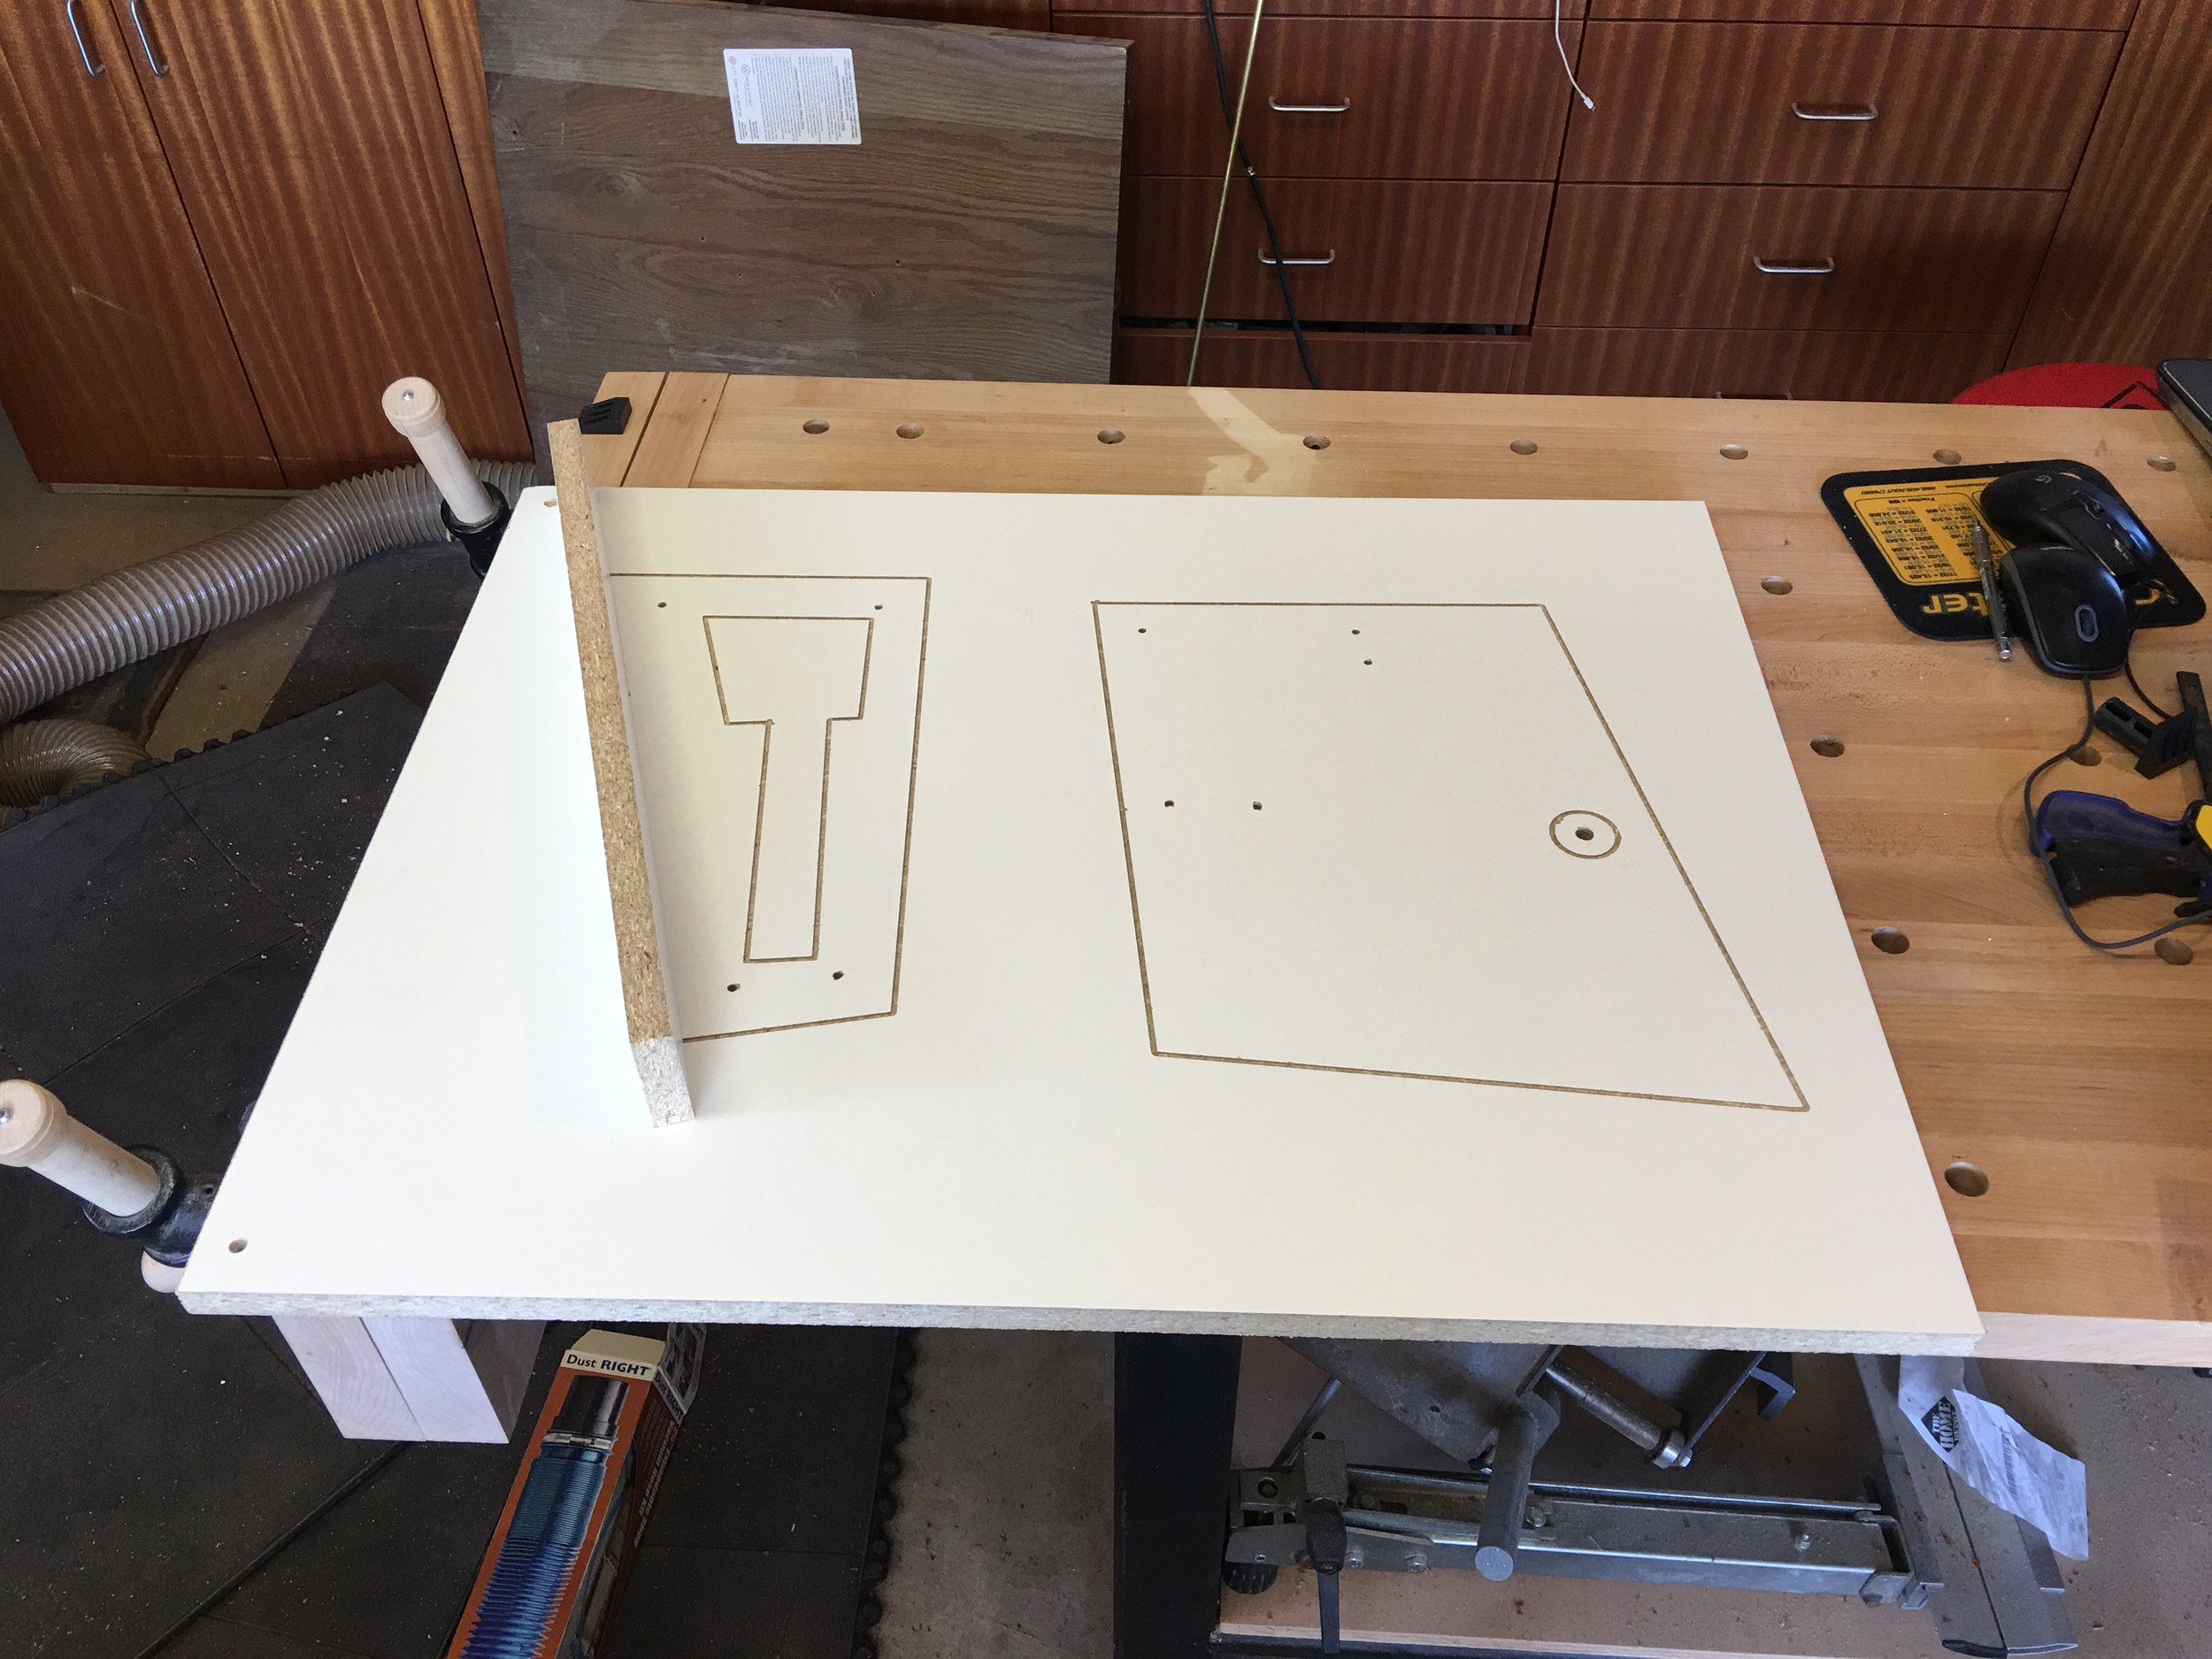
Finally, a totally unscripted shot of my garage/workshop in the middle of the project.